

Solving the Hidden Problems Behind Your Orange Park Home's Outlets and Switches
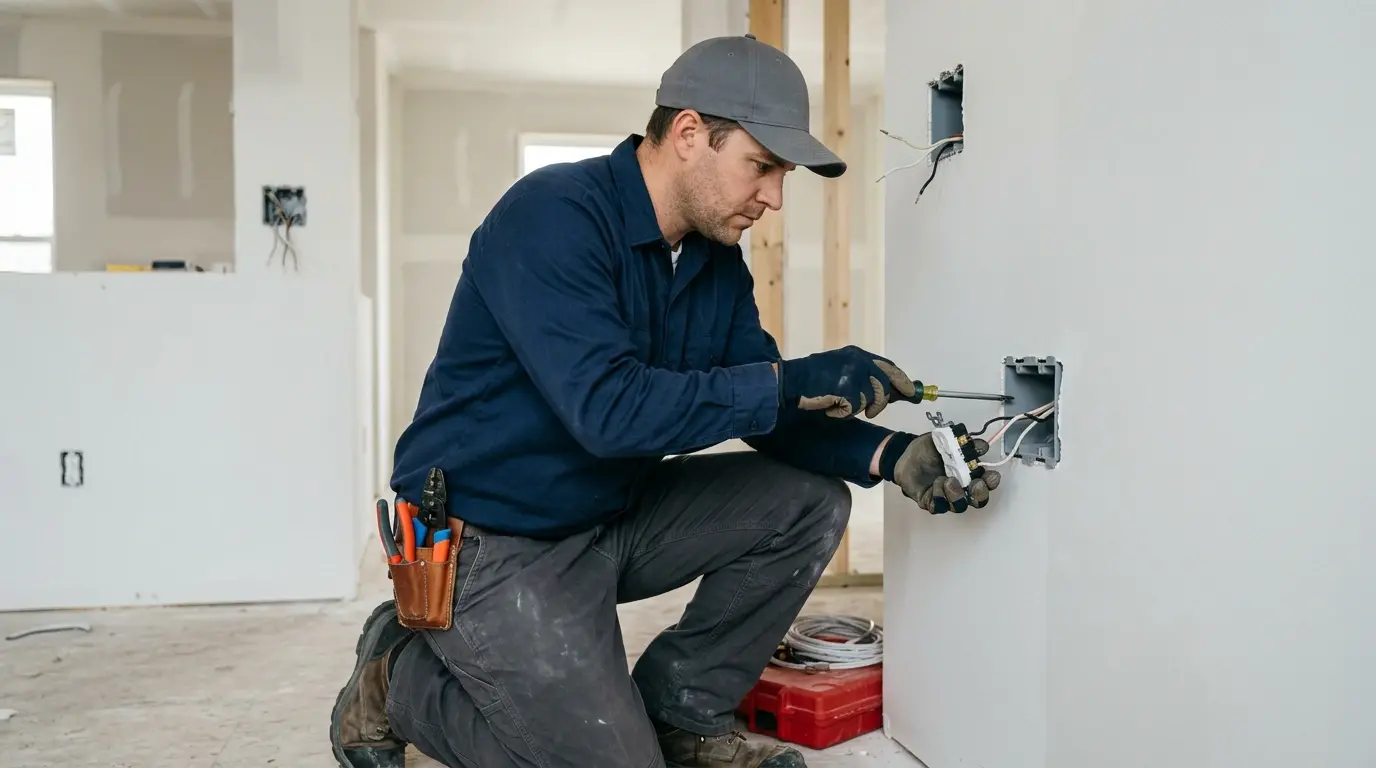
That outlet that only works when you wiggle the plug. That switch that makes a loud pop every time you flip it. That warm wall plate you have been ignoring for months. These are not minor annoyances — they are warnings of loose connections, failing devices, or dangerous wiring conditions inside your Orange Park home. Our electrical outlet installation and light switch installation services start with diagnosis, not just replacement. We find the root cause of flickering lights, intermittent power, and warm devices before installing new outlets or switches that would eventually fail the same way.
Six Problems We Find Behind Your Walls
First, back-stabbed outlets where wires are pushed into spring clips instead of wrapped around screws — a common 1970s-1990s practice that loosens over time. Second, reversed polarity where hot and neutral wires are swapped, leaving appliance switches energized even when turned off. Third, missing ground wires on three-prong outlets installed by previous owners who ignored code. Fourth, daisy-chained outlets where a loose connection at one receptacle kills power to every downstream outlet. Fifth, undersized electrical boxes stuffed with too many wires and connectors, creating heat buildup and fire risk. Sixth, aluminum wire connections from 1960s-70s homes that have loosened and arced inside walls. Our team corrects each of these conditions during every outlet or switch installation we perform in Orange Park. We never simply replace a device without inspecting the box behind it. We torque every screw to manufacturer specifications, use wire nuts rated for aluminum-to-copper connections when needed, and install AFCI outlet protection on circuits that lack breaker-level protection.
When you hire us for outlet or switch installation in Orange Park, this is our complete process:
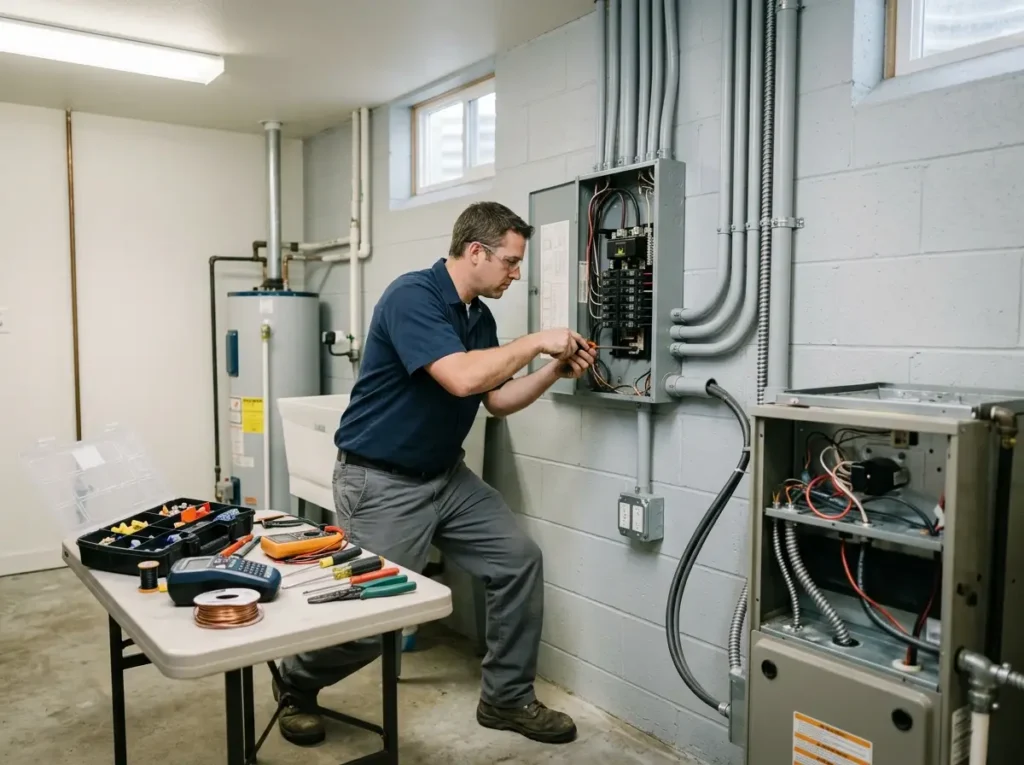
- Pre-installation circuit testing to identify voltage, polarity, ground continuity, and GFCI functionality
- Box fill calculation to ensure new devices fit without exceeding NEC capacity limits
- For three-way switch wiring, traveler wire verification and function testing at both switch locations
- For dimmer switch installation, confirmation of LED compatibility and minimum load requirements
- For GFCI outlet installation, proper line vs load terminal identification to protect downstream outlets
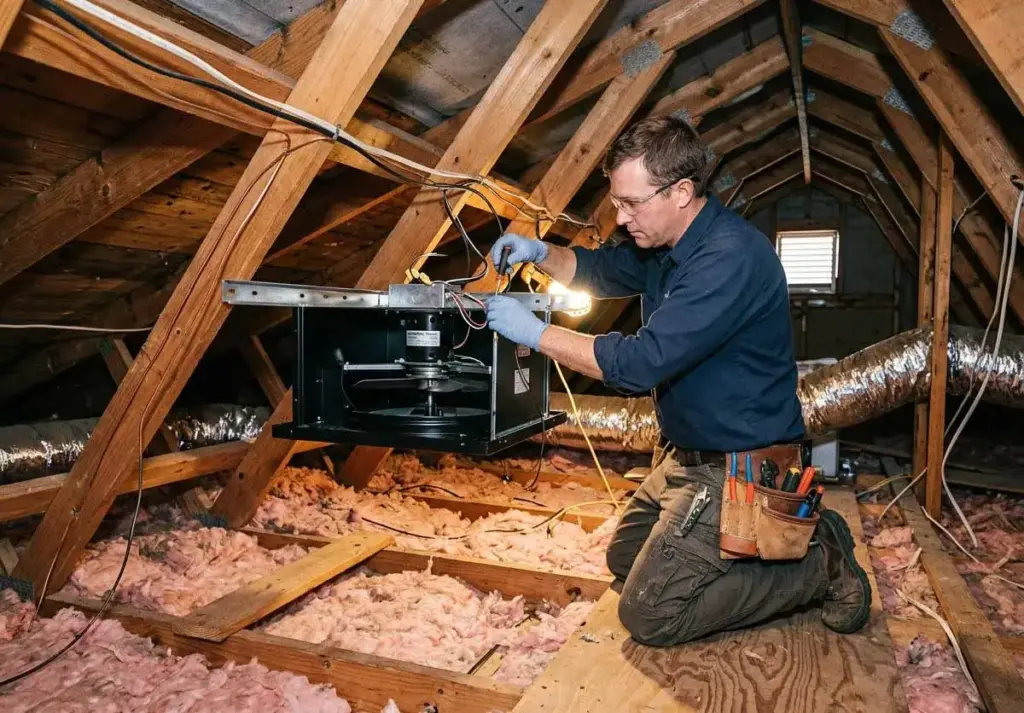
- For receptacle relocation, access planning to minimize drywall damage (fishing from basement or attic preferred)
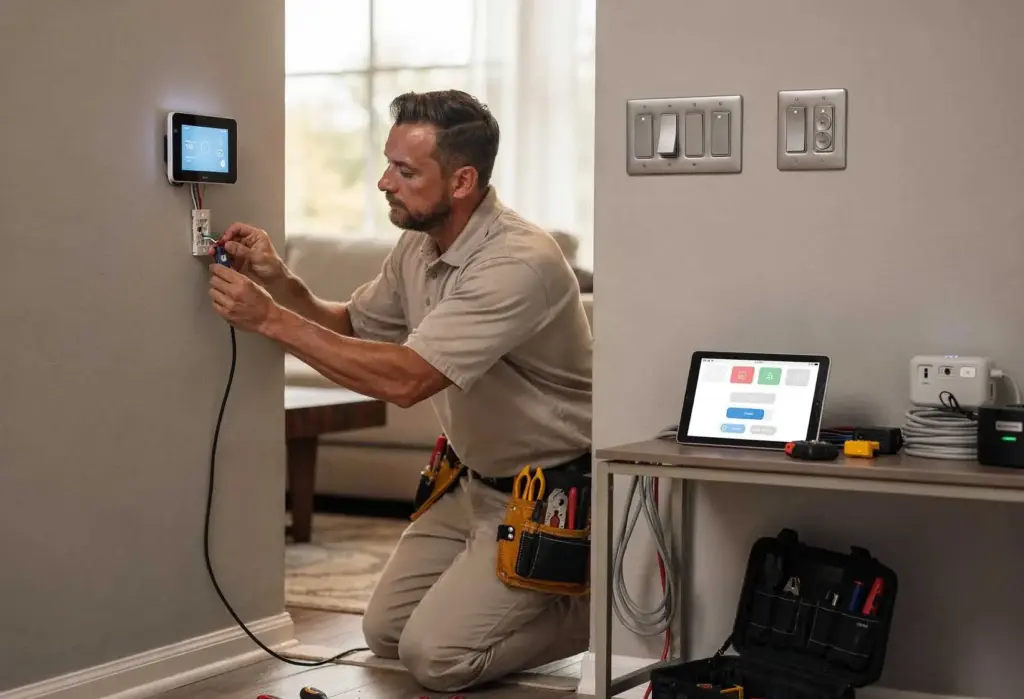
- For smart switch installation, neutral wire verification and network signal strength testing
- Final installation of screwless wall plates for a gap-free, professional appearance
How Long Will Your Outlet or Switch Project Take?
A standard light switch installation replacing one existing switch takes 20 to 30 minutes. Replacing five switches throughout your home takes 1.5 to 2 hours total. GFCI outlet installation replacing a standard outlet takes 30 to 45 minutes, but if we discover that no ground wire exists (common in pre-1960s Orange Park homes), we must either run a new ground wire or install a GFCI with a "no equipment ground" label, adding 15 minutes and explaining the code exception. Adding a new electrical outlet installation where no box exists takes 2 to 3 hours for the first outlet in a room, and 1 to 2 hours for each additional outlet on the same wall if we can access the same crawlspace or attic path. USB outlet installation takes 30 to 45 minutes per outlet, provided the existing box contains a neutral wire (older switch boxes often do not). Dimmer switch installation takes 45 to 60 minutes per switch, with additional time if the existing box is too shallow for a dimmer's larger body — we carry deep boxes and box extenders to solve this. Three-way switch wiring troubleshooting when both switches exist but do not work correctly takes 1 to 2 hours to diagnose miswired travelers or defective switches. Installing three-way switch wiring from scratch where only one switch exists runs 3 to 5 hours to run 14/3 or 12/3 cable between both locations. Smart switch installation takes 45 to 60 minutes for basic Wi-Fi models, plus 15-20 minutes for app setup, firmware updates, and voice assistant integration. Receptacle relocation where we move an outlet 4 feet to the right costs 2 to 3 hours if we can fish wire horizontally through stud holes. Moving an outlet to a completely different wall requires 3 to 5 hours and may involve attic or basement access. The most complex scenario we encounter in Orange Park is replacing back-stabbed outlets in a finished basement with a finished ceiling below and a finished floor above — no crawlspace, no attic. We must cut access holes, fish wires blindly, and repair drywall afterward. That project runs 1 to 2 hours per outlet plus patching time. We explain every timeline before starting and always provide a written estimate with worst-case and best-case ranges.
Why Receptacle Relocation Is Harder Than It Looks (And Why Experience Matters)
Moving an outlet sounds simple: cut a new hole, move the wires, patch the old hole. But electrical code requires that all splices remain accessible inside junction boxes. You cannot simply extend wires through the wall without a box. Proper receptacle relocation involves either running a new continuous wire from the previous box to the new location or installing a new junction box at the old location, covering it with a blank plate, and running new wire from that box to the new outlet location. Cutting corners here — burying splices inside walls — is a fire hazard and a code violation that home inspectors catch during resale. Our receptacle relocation follows NEC 314.29, which requires all junction boxes to remain accessible without damaging building finishes. We either fish new wire from an existing accessible box (basement, attic, or adjacent room) or install a blank cover plate at the old outlet location. For dimmer switch installation and smart switch installation, we also check box depth. Many older Orange Park homes have shallow 2×3 inch metal boxes that fit only standard toggle switches. Dimmers and smart switches require deeper boxes (2.5 inches minimum). We carry box extenders and can replace boxes when needed, though this adds 30-60 minutes per device. For three-way switch wiring, we test both existing switches before installation. Often, homeowner-installed switches have traveler wires swapped, causing one switch to work only when the other is in a specific position. We identify and fix these miswirings during our installation. For AFCI outlet installation, we verify that the outlet is installed at the first receptacle on the circuit to protect all downstream outlets. Installing AFCI protection at the wrong location leaves downstream receptacles unprotected. Every outlet and switch installation we complete in Orange Park includes a final report showing voltage readings, GFCI trip time (under 0.025 seconds), and AFCI test button function. We also photograph each box before closing it, so you have documentation of wire condition and torque seal marks.
Call our team in Orange Park to schedule your electrical outlet or switch installation. We find and fix the problems behind your walls — not just the device you see.