
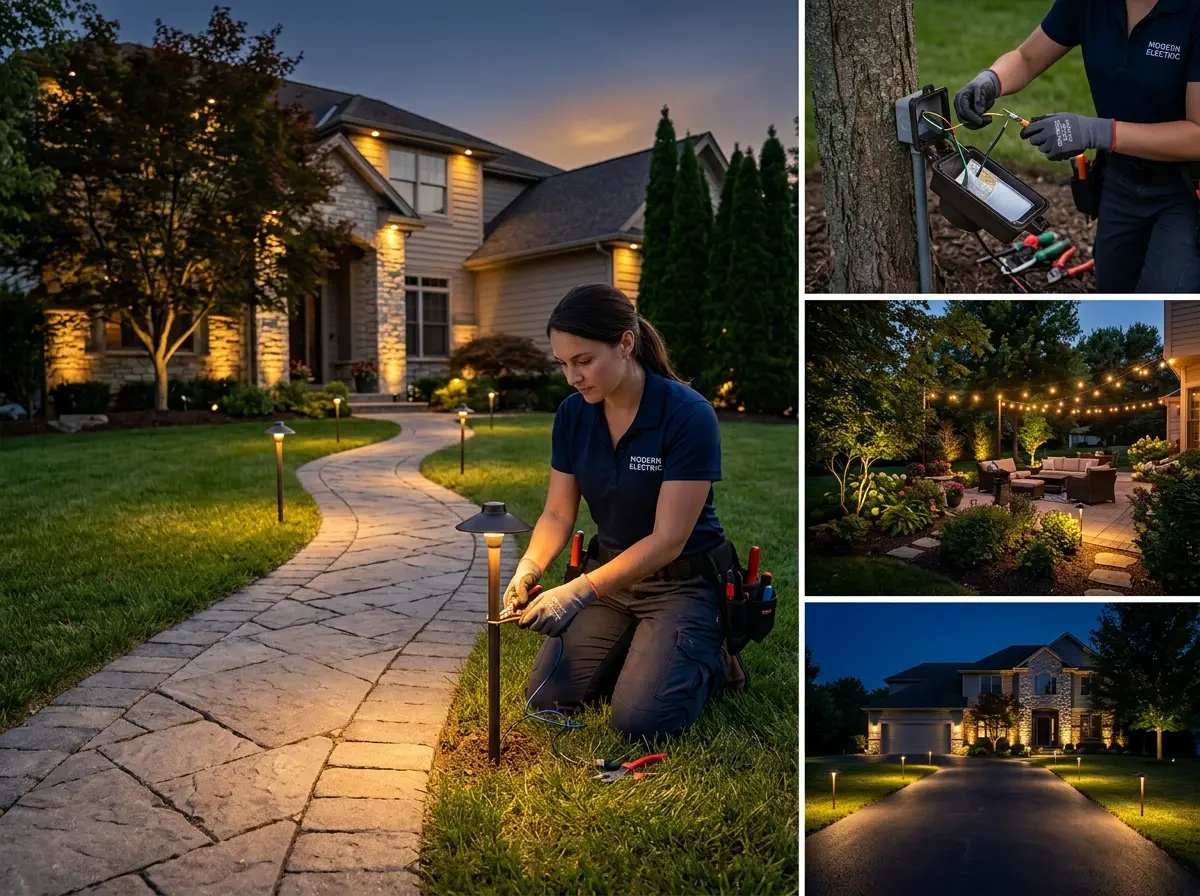
Safe Walkways, No Neighbor Complaints, and Lights That Last 20 Years in Rockledge
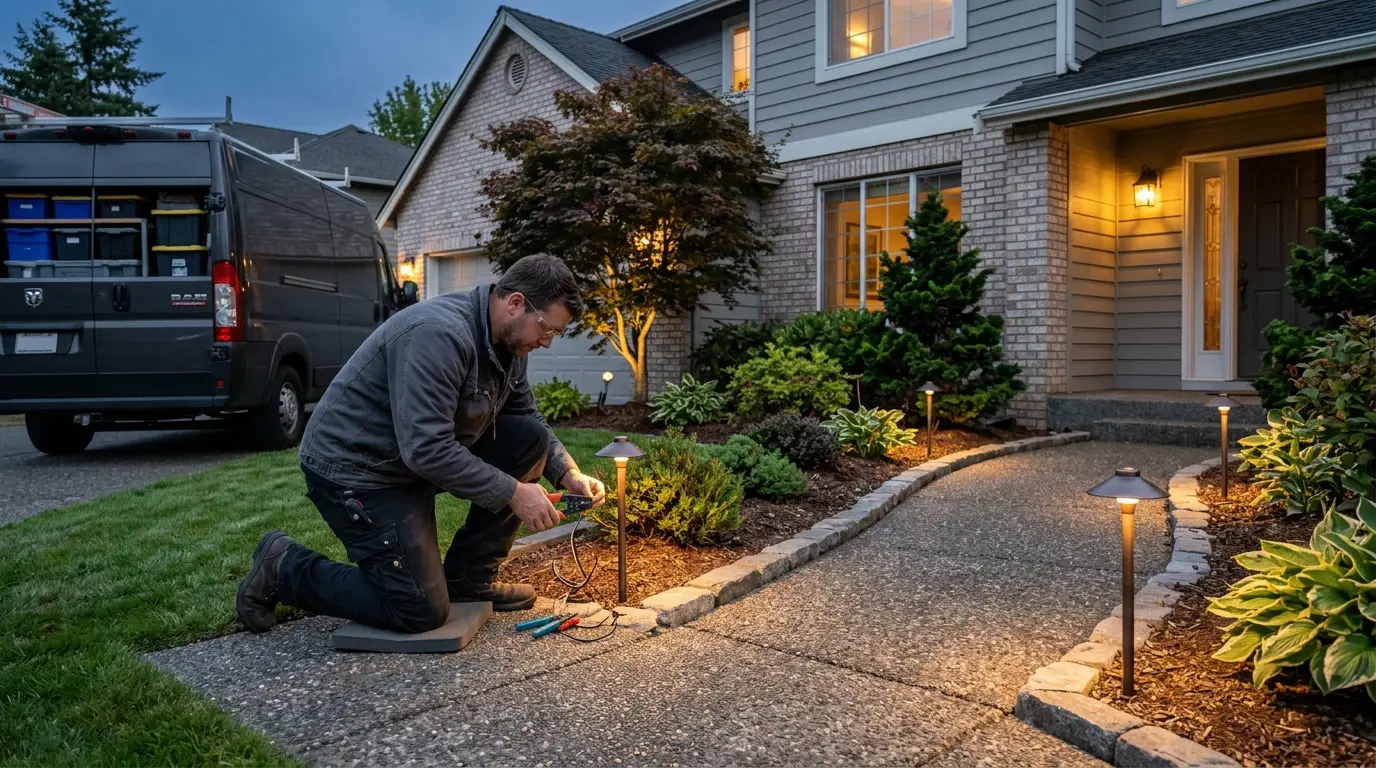
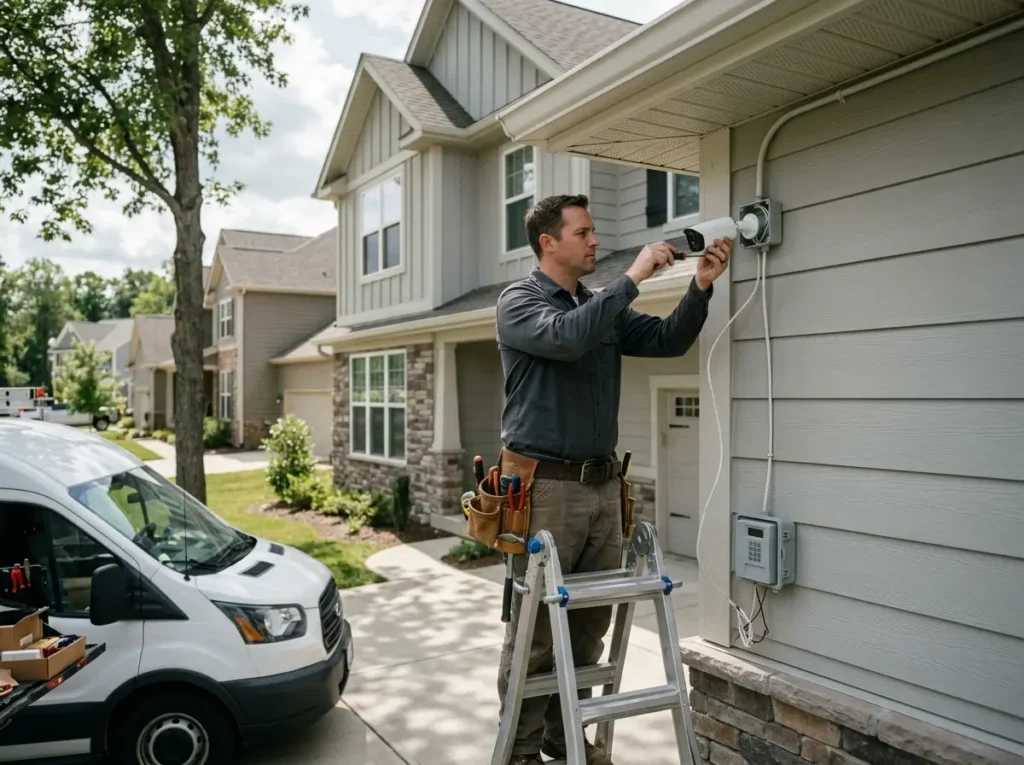
A dark driveway is an accident waiting to happen. A glaring floodlight aimed at your neighbor's bedroom window will get you an HOA violation letter by Tuesday. Our outdoor lighting installation service solves both. We design low voltage landscape lighting systems that illuminate exactly where you need it — steps, path edges, garage approaches, side gates — without spilling light upward or sideways. For Rockledge homeowners in HOA communities, we provide dark sky compliant documentation for the board. For homes on large lots, we install motion sensor floodlights only at entry points, saving light pollution for the rest of the night sky.
Five Outdoor Lighting Problems We Fix
First, path lights that wobble or get knocked over by the lawnmower. We stake fixtures 2 inches deeper and encase the base in concrete for absolute stability. Second, well lights that collect water and burn out every six months. We drill weep holes in the well housing and fill the base with pea gravel for drainage. Third, hardscape lighting where wires are visible across the patio. We chase wires through the masonry joint or behind the stone face, then repoint the mortar over the channel. Fourth, deck lighting that fails after one winter. We use marine-grade connectors and heat-shrink tubing on every splice, then mount fixtures recessed into the riser so snowplows and shovels cannot hit them. Fifth, motion sensor floodlights that trigger for every passing car or raccoon. We adjust the sensor's range and direction, then add a time-delay so lights stay on for 30 seconds after motion stops — no more flash-flash-flash every time a leaf falls.
Our landscape lighting installation process for Rockledge homes includes these quality checks:
- HOA rule review — we call your HOA to confirm dark sky compliant fixture types and maximum lumen allowances
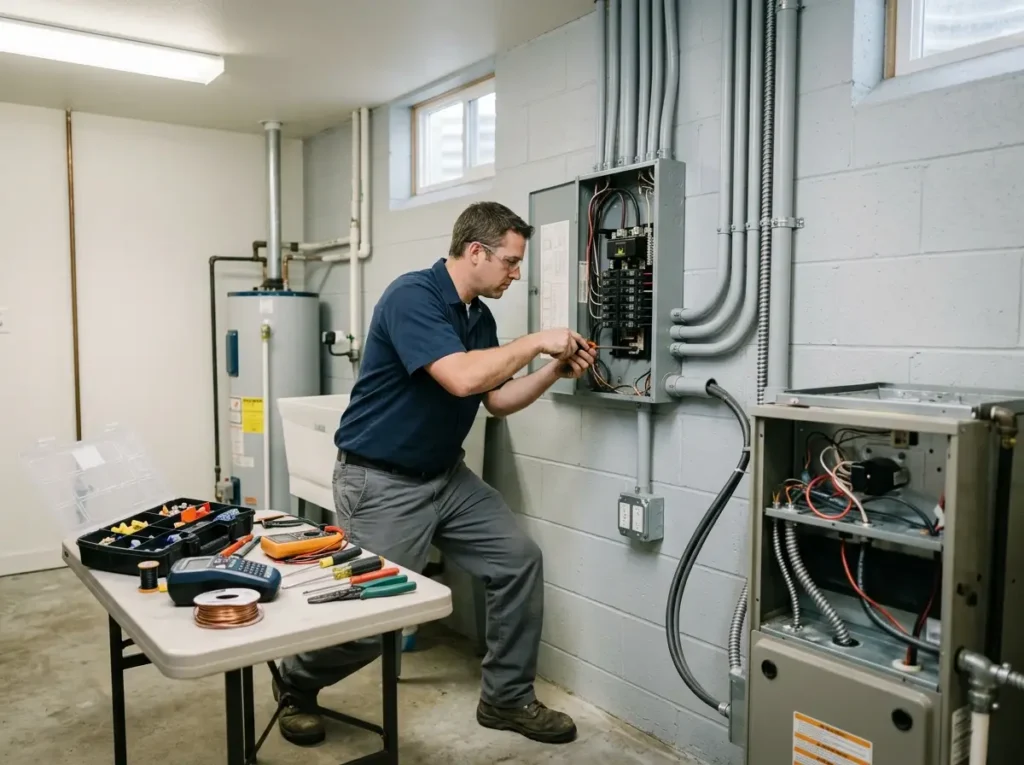
- Transformer placement selection — within 6 feet of an outdoor GFCI, shaded from afternoon sun, elevated off ground
- Cable trenching — 8 inches deep with warning tape 4 inches above to protect future diggers
- Fixture assembly — thread sealant on all joints, silicone grease on o-rings, gel caps over every wire splice
- Photocell and timer integration — lights on at dusk, off at 10 PM or sunrise, depending on your preference
- Final walkthrough — we bring you outside after dark and adjust every fixture angle while you watch
How Long Will Your Outdoor Lighting Project Take?
A simple motion sensor floodlight installation with two fixtures on your garage eaves takes 1.5 to 2 hours, including mounting the sensors, running conduit to protect the Romex, and adjusting detection zones. A path lights-only system with 8 fixtures along a 60-foot walkway takes 3 to 4 hours—most of that time is trenching and backfilling. A full low voltage landscape lighting system with 15 path lights, 4 well lights, and a transformer takes 6 to 8 hours for a typical Rockledge front yard with loose soil. If your front yard has heavy clay, rock, or tree roots, trenching alone can take 4-5 hours with a powered trencher, extending total time to 8-10 hours. Hardscape lighting retrofitted into an existing stone retaining wall takes 3-4 hours per 30 feet of wall, as we must drill carefully to avoid cracking the stone blocks. Deck lighting installation for a 400-square-foot Rockledge deck (stairs, railings, perimeter) takes 5-7 hours, including drilling wire holes through each joist, mounting fixtures on risers, and hiding wires under the rim joist. New construction installations where no landscaping or decking exists yet are fastest—2-3 hours for a full system because we can trench and lay wire before mulch, plants, or stone go in. The most time-consuming scenario is replacing an existing failed low voltage system. We must remove every old fixture, pull out corroded aluminum wire (often broken in multiple places), and install new copper wire. That project runs 6-10 hours depending on how many buried splices we find. We always provide two time estimates: "no surprises" (if soil is soft and wire pulls easily) and "worst case" (if we hit rock or broken wire). You authorize only the work we actually perform, and we call before running over any estimate by more than 30 minutes.
Why Transformer Placement and Wire Gauge Separate Pros from DIY Kits
Every outdoor lighting installation begins with two decisions: where to put the transformer, and what gauge wire to use. Transformer placement determines how far your low voltage cable can run before voltage drop dims the farthest fixtures. We place the transformer within 10 feet of your home's exterior GFCI outlet, mounted on a wall bracket or on a landscape block, at least 12 inches above grade to avoid snow and sprinklers. From the transformer, we run 10-gauge or 12-gauge copper wire to a hub near the center of your fixture layout. From that hub, we branch out to fixture runs of 14-gauge or 16-gauge wire. This hub-and-spoke design ensures all fixtures receive similar voltage. The wire gauge matters enormously: 16-gauge wire loses 8% of voltage over 100 feet at 2 amps, meaning your farthest path lights will be visibly dimmer than ones near the transformer. We use 10-gauge or 12-gauge for all main trunk lines, and we never exceed 150 feet on any branch. For path lights on long driveways, we sometimes install a second transformer at the garage end rather than running one long wire. For well lights, we test each fixture's ground connection: well lights sit in damp soil, so they require a GFCI-protected circuit and a separate ground stake at the well housing. For hardscape lighting in retaining walls, we use landscape-grade LED tape in aluminum channels with UV-stabilized polycarbonate lenses. Standard tape yellow within 2 years in Rockledge sun; UV-stabilized tape lasts 10 years. For motion sensor floodlights, we mount sensors 6-8 feet high, aimed downward at a 30-degree angle, and we install a manual bypass switch inside the garage or back door. The bypass lets you keep lights on during parties (motion sensors would turn off every 30 seconds) or turn them off completely during thunderstorms (lightning can trigger sensors repeatedly). For deck lighting on steps, we mount fixtures on the vertical riser, not the horizontal tread. Horizontal lights get crushed by boots and shovels. Vertical lights stay protected and shine directly onto the tread below. Every outdoor lighting installation we complete in Rockledge includes a voltage reading at every fixture (all must be within 10-12V for halogen or 10-15V for LED), a photocell test (lights turn on within 30 seconds of sunset), and a dark sky compliance check (no upward light, all fixtures fully shielded). We also provide a maintenance schedule: check fixtures annually for debris, clean lenses with soapy water, test transformer output, and replace any LED drivers that flicker.
Call our outdoor lighting team in Rockledge to schedule your free nighttime assessment. We light your way home safely, beautifully, and within HOA rules.