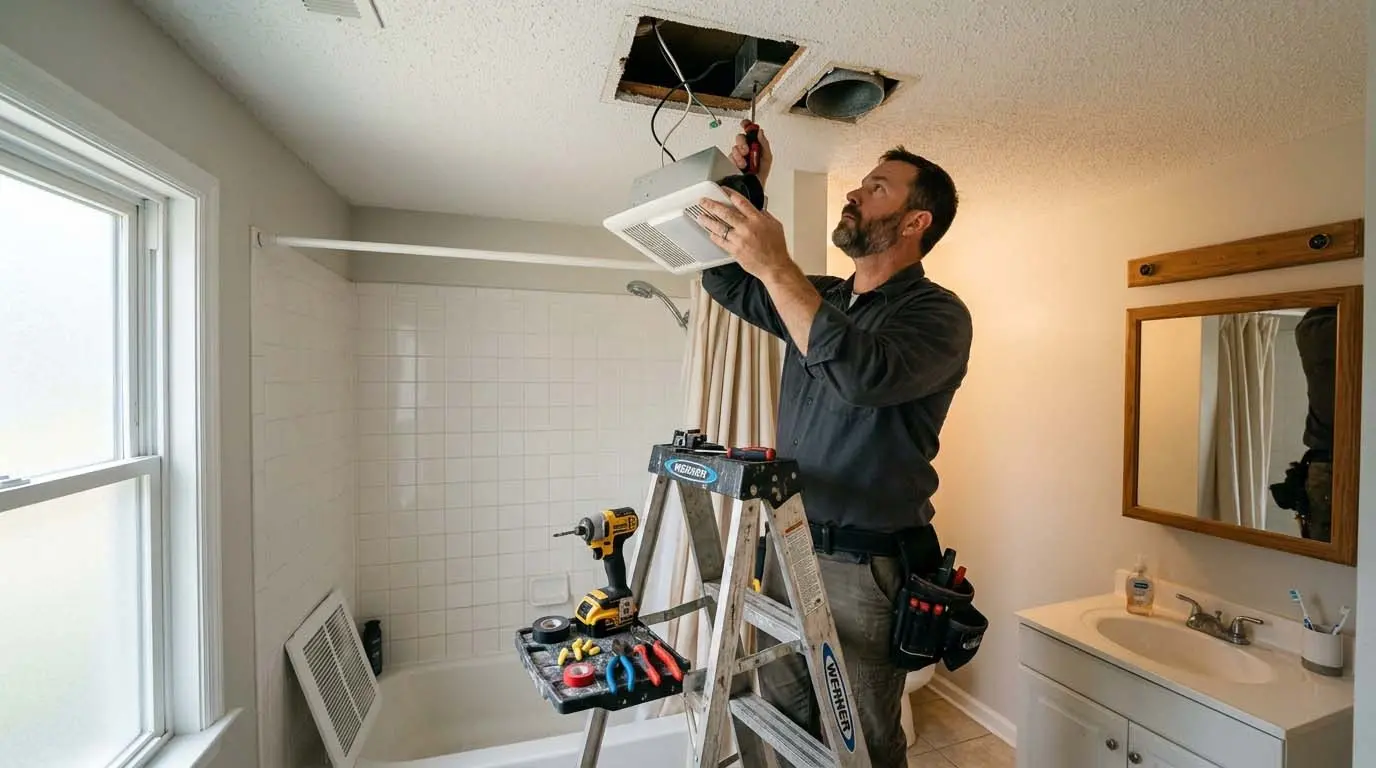


Your Safety Harbor Home's Attic Is Growing Mold Because of Your Bathroom Fan
You run the fan after every shower. The bathroom seems fine. But up in your attic, warm, moist air from your bathroom is condensing on the cold roof sheathing. Plywood is rotting. Insulation is wet and matted. Black mold is spreading. This happens when your exhaust fan ducting terminates in the attic instead of outside — a code violation that is shockingly common in Safety Harbor homes. Our bathroom exhaust fan installation and bathroom fan replacement services always include a full duct inspection. We verify where your existing duct goes, replace any duct that does not terminate through a roof cap or soffit vent termination, and install rigid metal ducting with proper slope (1/4 inch per foot) so condensation drains out.
Four Ducting Disasters We Correct
Disaster one: the fan vents directly into the attic — no duct at all. We install 4-inch rigid metal duct, run it to a new roof cap or gable vent, and seal all joints with foil tape. Disaster two: the duct is kinked or crushed flex foil, reducing airflow by 50%. We replace with rigid metal or smooth-wall semi-rigid aluminum. Disaster three: the duct is too long with too many bends. A 25-foot run with four 90-degree bends loses 80% of airflow. We reroute the duct through a shorter path or upsize to 6-inch duct. Disaster four: the duct terminates at a soffit vent termination that is blocked by insulation or a bird screen. We clean the termination, install a backdraft damper, and verify that the damper opens when the fan runs. After we fix your exhaust fan ducting, we also verify that the fan itself has the correct CFM rating and low sone rating for your bathroom size.
Our fan installation process in Safety Harbor prioritizes getting moisture outside:
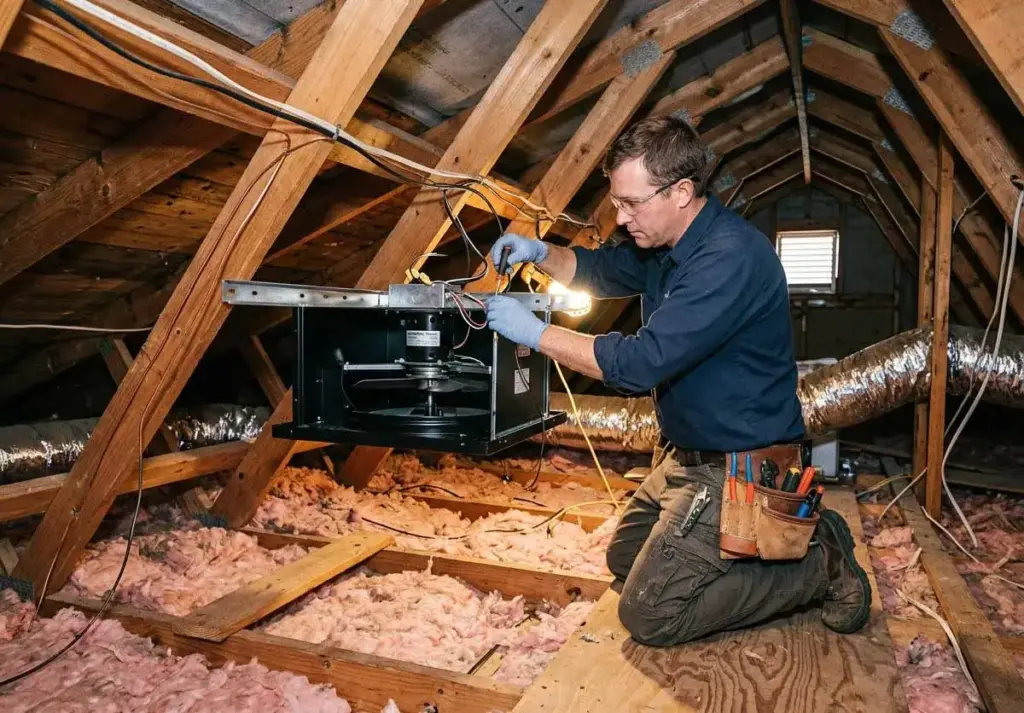
- We climb into your attic with a flashlight and camera to photograph the existing ducting termination
- If the fan vents to the attic, we show you the photos — you will see the wet insulation, rusted nails, or stained plywood
- We then install new exhaust fan ducting from the fan location to a proper exterior termination (roof cap, gable vent, or soffit vent termination)
- We use rigid metal duct only — no flex foil (which traps lint and reduces airflow)
- We slope the duct downward toward the termination so condensation drains out
- We install a backdraft damper at the termination so cold attic air does not fall back into the fan
- After ducting is corrected, we verify CFM rating and sone rating of the fan itself, replacing it if needed
How Long Does Fan and Ducting Work Take?
A bathroom fan replacement where the existing ducting is already correct (terminates outside) takes 2 to 3 hours. A ducting correction where the fan vents to the attic but a roof or gable is nearby takes 3 to 5 hours. We cut an opening for a new roof cap (if roof access is safe) or gable vent, run rigid metal duct from the fan to the new termination, seal all joints, and insulate the duct if it runs through unheated space. If the bathroom has no existing fan at all, we must also install the fan and run power — 4 to 6 hours total plus ducting. A soffit vent termination is often easier than a roof cap because we can work from a ladder instead of walking on the roof. But soffit terminations must be at least 12 inches from any other vent (like a dryer vent) to avoid recirculation. We verify distances before cutting. A retrofit installation where the new fan does not fit the old ceiling hole adds 1 to 2 hours. A humidity sensing fan upgrade adds 30 minutes for programming. The most time-consuming scenario in Safety Harbor is a second-floor bathroom with a finished attic above (no access) or a flat roof with no attic at all. In that case, we must run exhaust fan ducting through the wall to an exterior gable, possibly cutting into finished walls. That project takes 5 to 8 hours and may require drywall patching. We always provide a written quote with two options: ducting correction only (if the fan itself is fine) or full fan replacement plus ducting (if the fan is old and undersized). We also offer a separate attic inspection service where we photograph your entire ventilation system and provide a report.
Why Exhaust Fan Ducting to Attic Is Illegal and Dangerous
International Residential Code (IRC) Section R1503.1 requires bathroom exhaust fans to terminate outside the building. Not in the attic. Not in the soffit (unless the soffit is ventilated and at least 12 inches from any intake). Not in a crawlspace. Outside. The reason: warm, moist air from your bathroom contains water vapor. In winter, that vapor hits cold attic surfaces and condenses. Wet plywood rots. Wet insulation loses its R-value. And mold thrives. We have seen attics where decades of bathroom moisture have turned roof sheathing into black, crumbling sponge. In extreme cases, roofers have fallen through rotted sheathing because a bathroom fan vented into the attic for 20 years. Our exhaust fan ducting repair includes: removing the illegal attic termination, installing a new roof cap or gable vent, running rigid metal duct from the fan to the termination, sealing all joints with foil tape (not duct tape), insulating the duct in unheated attics, and installing a backdraft damper to prevent cold air from falling back into the fan. For retrofit installation, we often find that the old fan was installed without a housing — just a grille screwed to the ceiling joists. No duct, no damper, just a hole into the attic. We remove the old grille, install a proper fan housing (with built-in damper), run new ducting to the outside, and patch the ceiling. For bathroom fan with light and heater, we ensure the heater's exhaust (if any) is also ducted outside — some cheap combination units recirculate heater air back into the bathroom, which is acceptable, but the fan exhaust must still go outside. For humidity sensing fan, we wire the sensor so it can be overridden manually. Some homeowners want the fan to run automatically whenever humidity exceeds 60%. Others want the sensor as a safety backup but prefer manual control. We give you both options. For sone rating, we recommend Panasonic, Delta Breez, or Broan Ultra-Quiet models (0.3-1.0 sone). Avoid cheap builders-grade fans (4+ sone) that sound like a lawnmower. For CFM rating, we never undersize. A 50 CFM fan in a 80 square foot bathroom will never clear steam. We use the HVI (Home Ventilating Institute) formula: CFM = Bathroom square footage × 1.1. For master baths with large tubs or steam showers, we use 1.5× square footage. Every fan installation we complete includes a final manometer test to measure actual airflow (in CFM) at the grille. If the measured airflow is less than 80% of the fan's rated CFM, we improve the ducting (shorten runs, eliminate bends, upsize diameter) until we hit the target.
Call our ventilation team in Safety Harbor to inspect your bathroom fan ducting. We will show you what is growing in your attic — and fix it permanently.