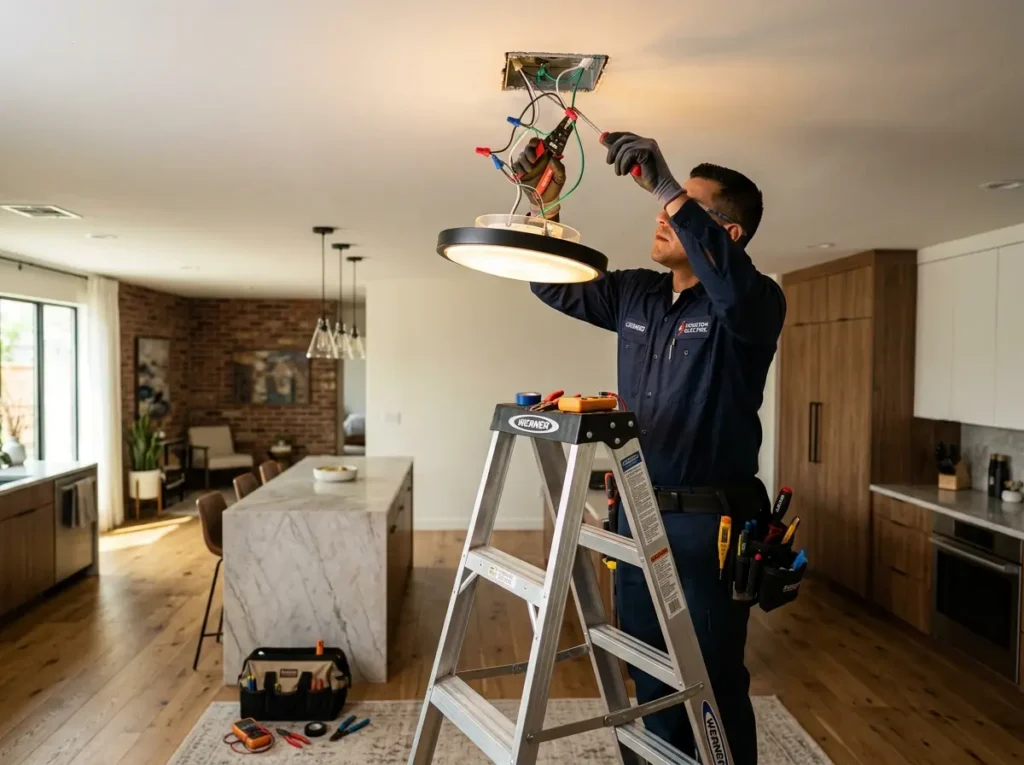

Why Your New Sebring Appliance Won't Turn On (And It's Not Broken)
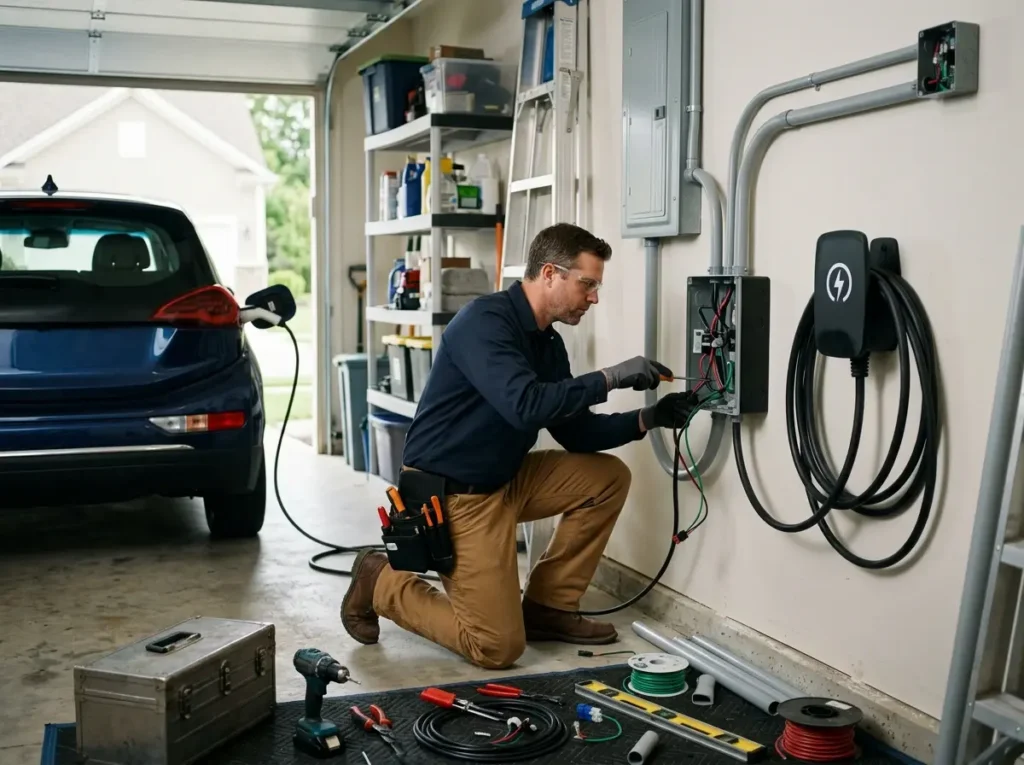
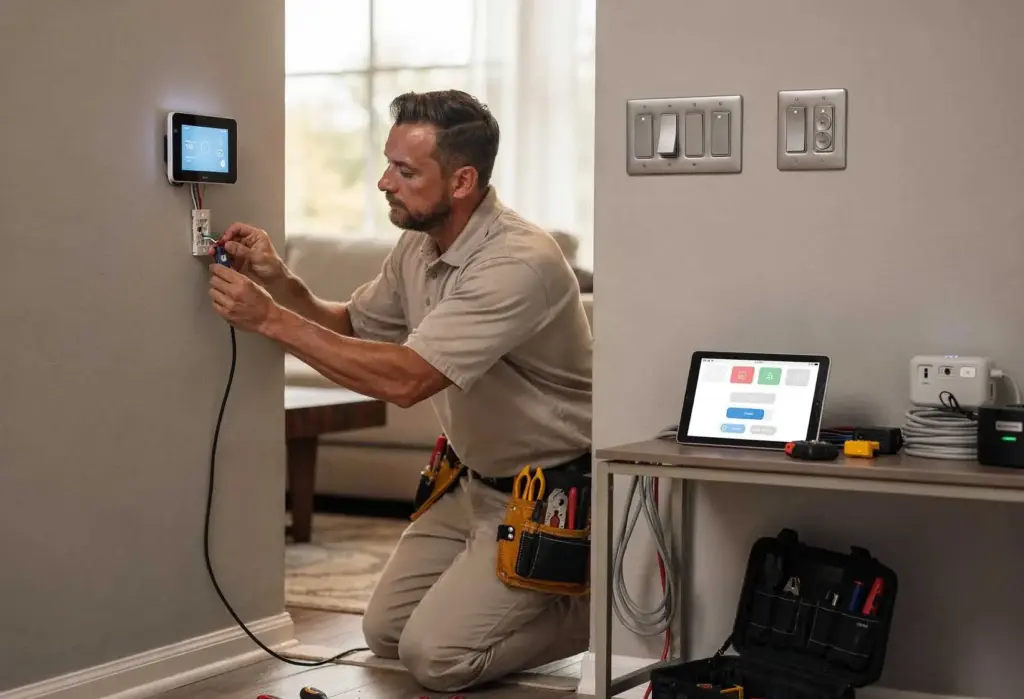
You unpacked your new electric range, slid it into place, and plugged it in. Nothing. The clock won't light up. The oven won't heat. The problem is not the appliance — it is the outlet. Your 1950s home has a NEMA 10-50 three-prong outlet, but your new stove requires a NEMA 14-50 four-prong with a separate ground. Our appliance and HVAC electrical hookups specialize in these mismatches. We perform electric stove hookup with proper 240V outlet installation, upgrade old dryer outlets to match new machines, and handle EV charger installation for homeowners who bought a Tesla or Ford Lightning and now realize their garage has no charging capability.
Five Hookup Problems We Solve Weekly in Sebring
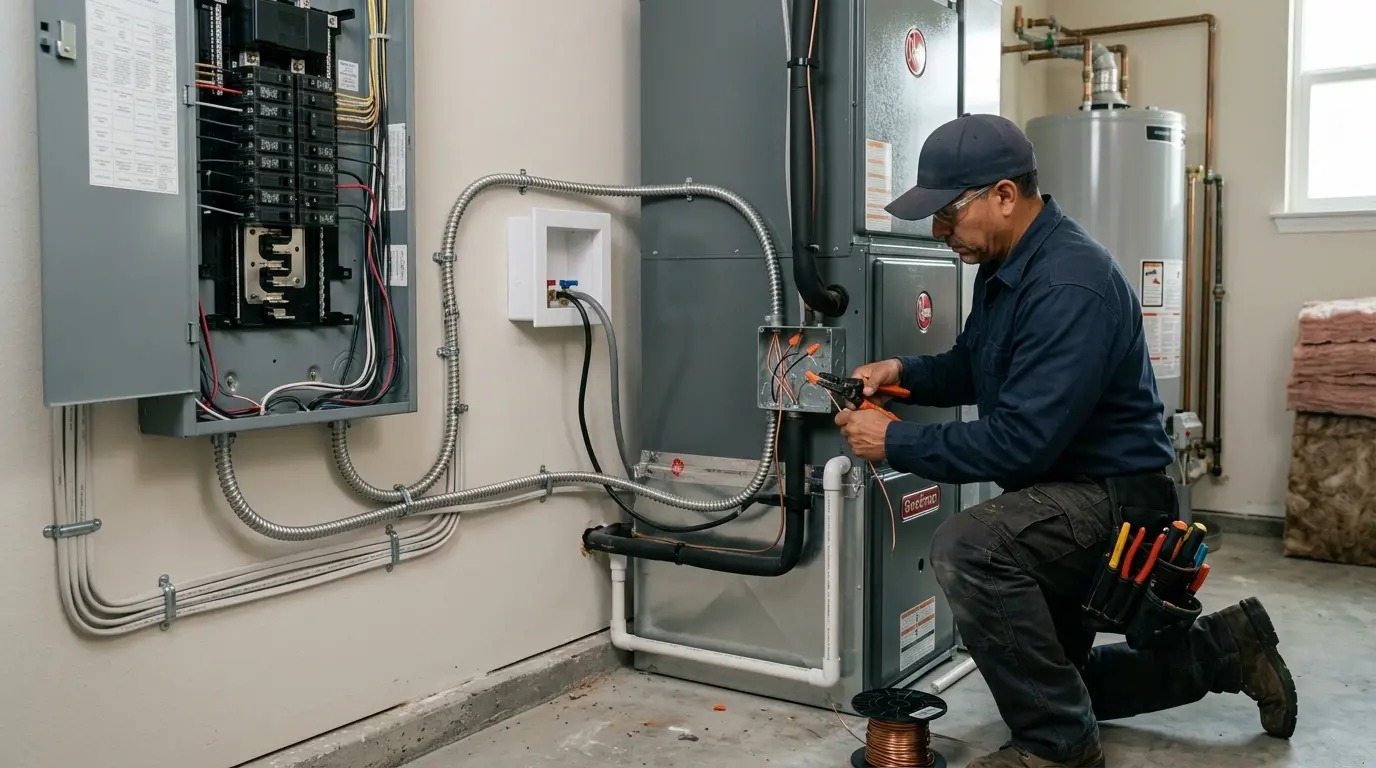
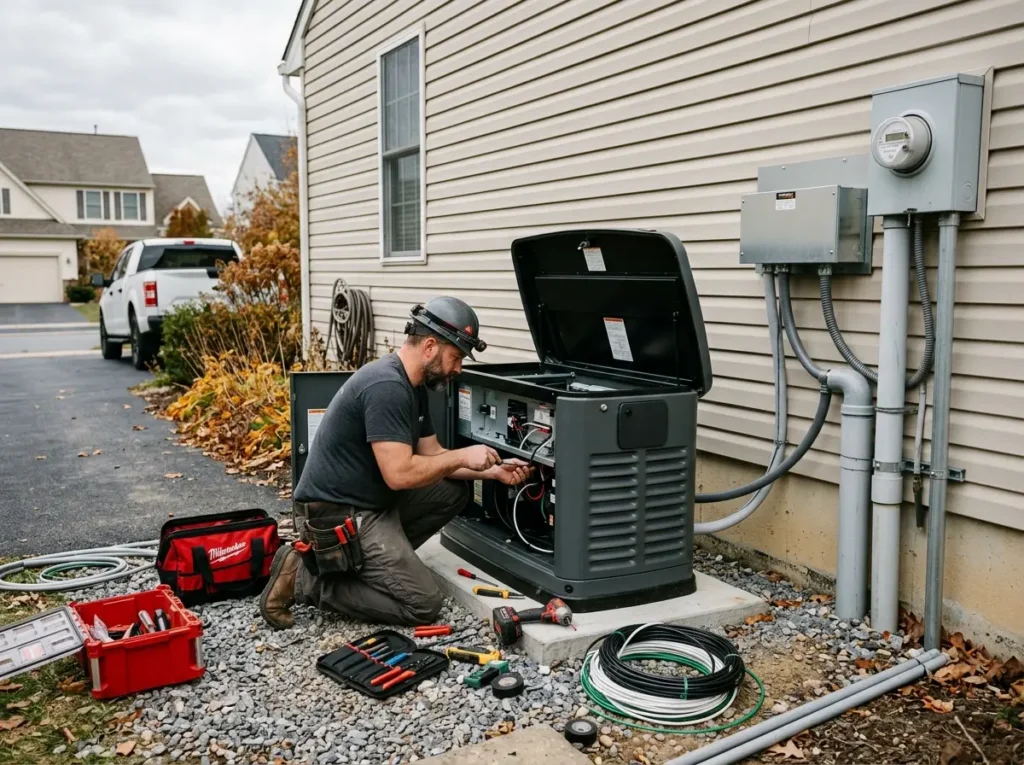
First, a new electric stove with a four-prong plug and an old three-prong outlet. We install a NEMA 14-50 receptacle and run a new 6/3 Romex from the panel if the existing wire is only three conductors (2 hot + neutral, no ground) — 2-4 hours. Second, a dryer outlet that is NEMA 10-30 (three-prong) but the new dryer has a NEMA 14-30 plug (four-prong). We replace the outlet and add a ground wire, or install a four-prong cord on the dryer if code allows — 1-2 hours. Third, an EV charger installation where the homeowner bought a Level 2 charger but has no 240V outlet in the garage. We run a new dedicated circuit, install a NEMA 14-50 outlet or hardwire the charger — 3-5 hours. Fourth, an AC unit installed by an HVAC company that left the electrical hookup unfinished. We mount the AC disconnect installation within sight of the unit, run 10/2 or 8/2 Romex from the panel, and connect both ends — 2-4 hours. Fifth, a portable generator sitting in the garage that the homeowner is afraid to use because they have heard about backfeeding danger. We install a generator transfer switch (manual interlock or inlet box) so the generator can safely power essential circuits — 3-5 hours.
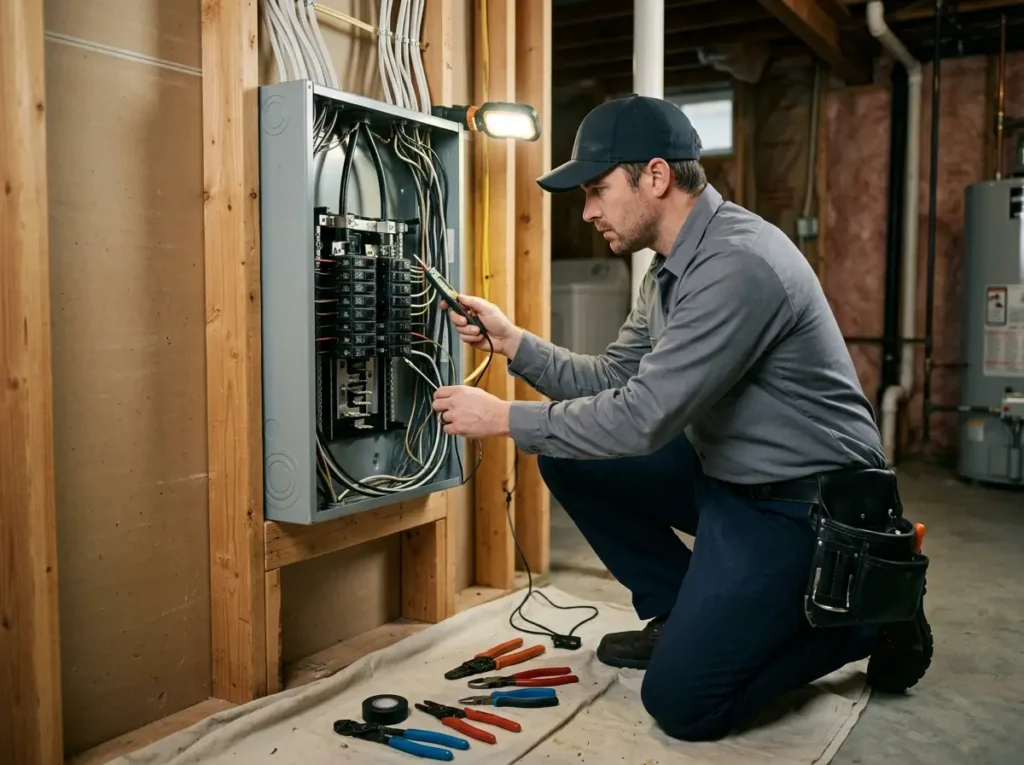
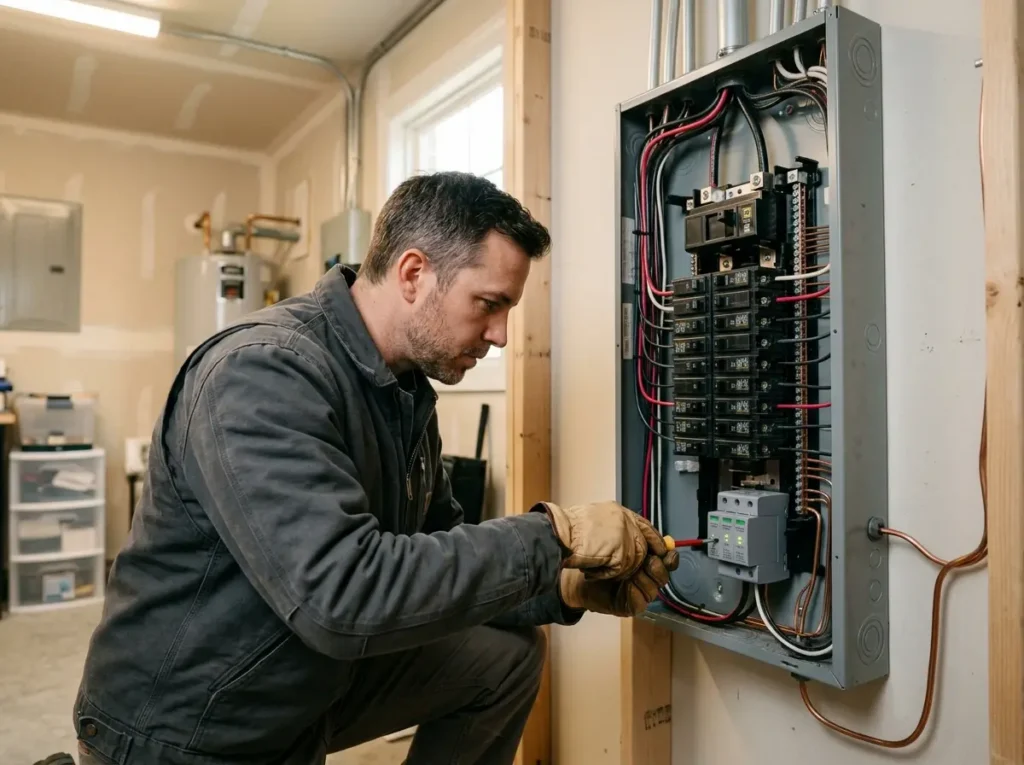
Our hookup process in Sebring begins with capacity verification, not just wiring:
- Load calculation — we add up your existing major loads (AC, dryer, oven, well pump, EV charger) and compare to your panel rating (100A, 150A, 200A)
- Dedicated circuit verification — we confirm that the new appliance will have its own breaker with no other outlets on the same line
- Wire gauge selection — 14/2 for 15A, 12/2 for 20A, 10/2 or 10/3 for 30A (dryer), 8/3 or 6/3 for 40-50A (stove, EV), 4/0 for 200A services
- Hardwired vs plug-in decision — we explain pros and cons for each appliance type and customer preference
- Permit and inspection coordination — we pull permits where required and schedule the inspection
- Post-installation testing — voltage under load, thermal scan of connections, GFCI trip test (if applicable)
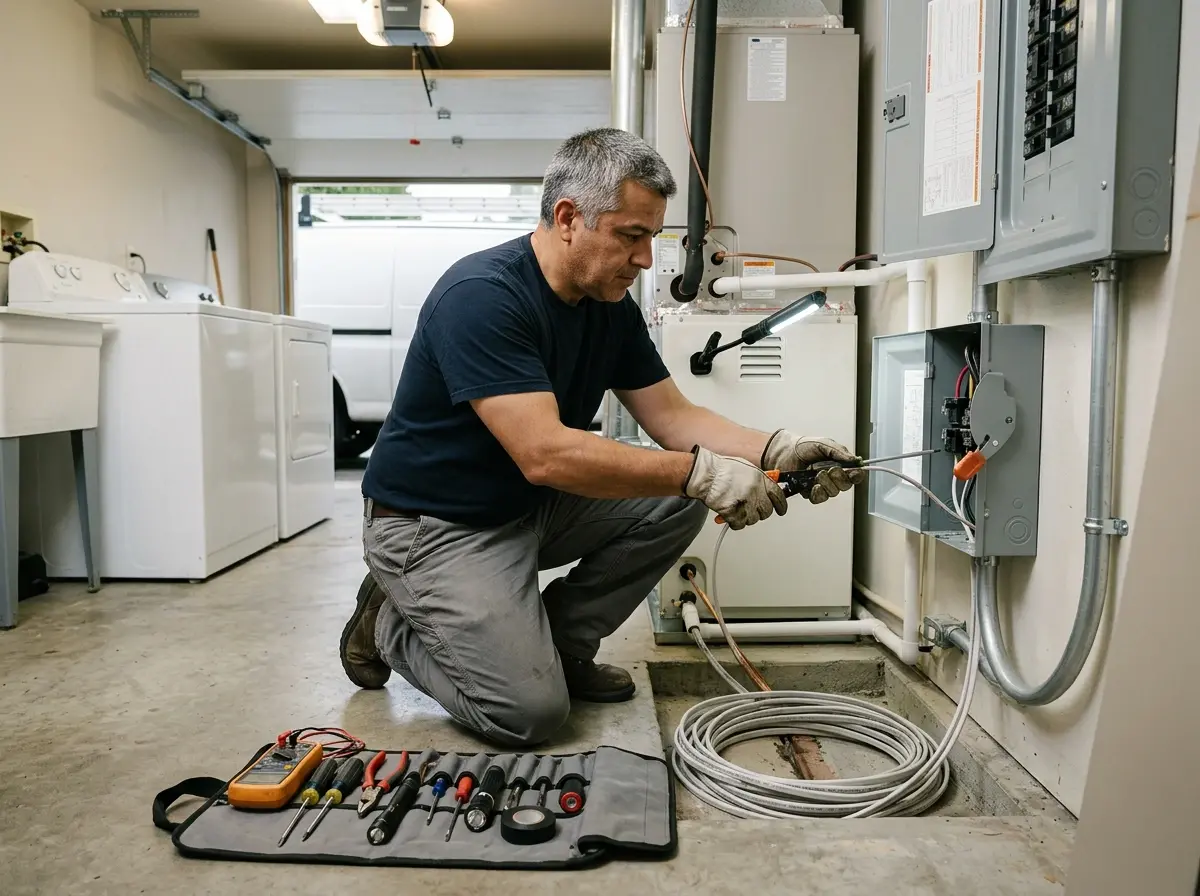
How Long Does Appliance or HVAC Hookup Take?
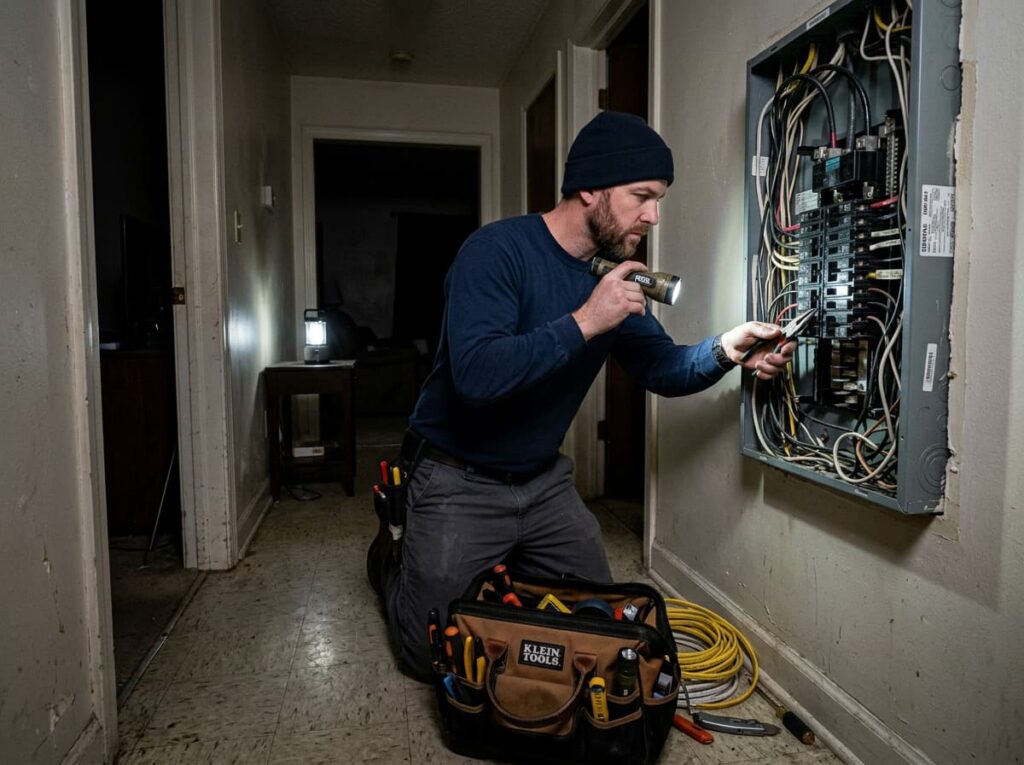
An electric stove hookup where the existing 240V circuit is already present and the only issue is changing the outlet takes 1 to 2 hours. We turn off the breaker, verify power is dead, remove the old outlet, inspect the box for damage, install a new NEMA 14-50 receptacle, torque all connections, and test with a plug-in tester. If the existing wiring is only three conductors (common in pre-1996 homes), we must either run a new 6/3 Romex with four conductors (adds 2-4 hours) or install a GFCI breaker to protect the ungrounded circuit (code exception, adds 30-60 minutes). A dryer outlet installation for a new machine takes 1 to 2 hours if the existing 240V circuit is present. If no 240V circuit exists in the laundry area, we must run a new dedicated circuit from the panel — 3-5 hours depending on attic or crawlspace access. An EV charger installation for a NEMA 14-50 outlet in a garage directly below the panel takes 2 to 3 hours. If the panel is at the opposite end of the house and we must fish wire through finished ceilings, plan on 4 to 6 hours. For hardwired EV charger installation (no outlet, direct wire to charger unit), add 30 minutes for mounting the charger and making the connection inside the unit. An AC disconnect installation for a new condenser takes 2 to 4 hours. We mount a weatherproof disconnect within sight of the unit, run 10/2 or 8/2 Romex from the panel to the disconnect, then run liquid-tight conduit from the disconnect to the AC unit. We coordinate with the HVAC installer on wire sizing based on the unit's minimum circuit ampacity (MCA). A generator transfer switch installation (manual, interlock-based) takes 3 to 5 hours. We install a 30A or 50A inlet box on the exterior wall, run 10/3 or 6/3 cable to the panel, install a generator interlock kit on the panel cover, and test the sequence. An automatic generator transfer switch installation for a whole-house generator takes 6 to 8 hours and is typically done as part of a full generator installation. The most time-consuming scenario in Sebring is an EV charger installation in a detached garage with no existing 240V feed. We must trench 18 inches deep from the house to the garage, lay 1-inch PVC conduit, pull 6/3 THHN wire, install a subpanel in the garage, then install the EV charger. That project takes 6 to 10 hours over 1-2 days. We always provide a written estimate with line items for materials (wire, conduit, breaker, outlet, permit) and labor (hourly or flat-rate per job).
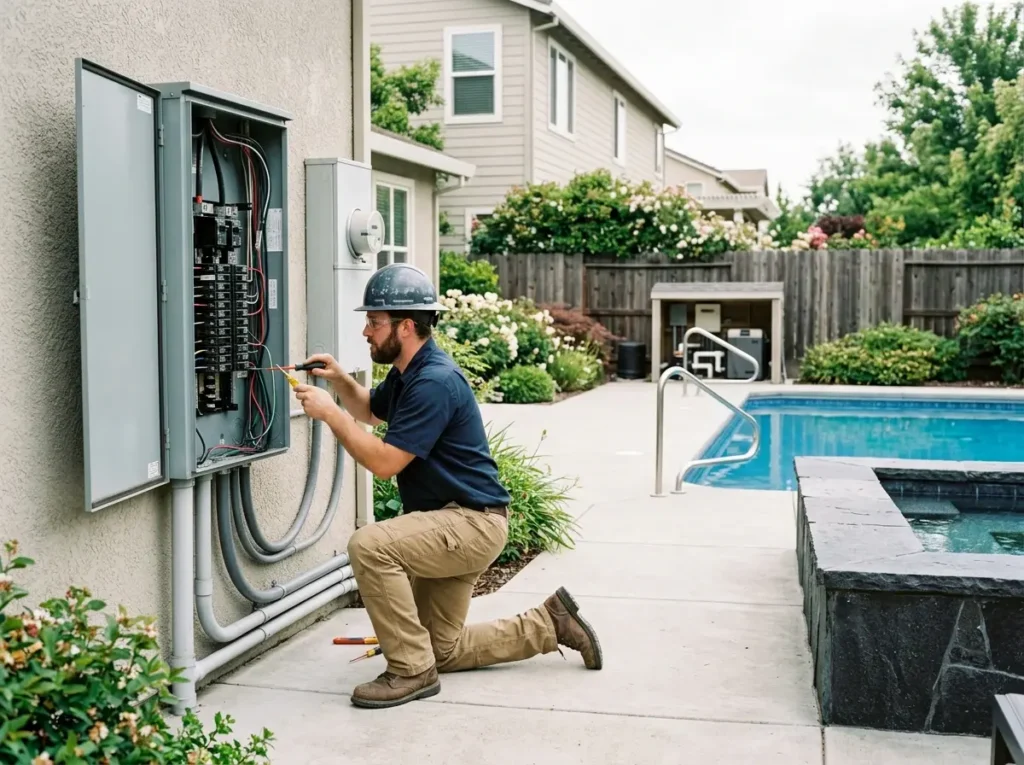
Why Load Calculation Is the Most Important Step Before Any 240V Installation
You want an EV charger. Your home has a 100A panel, central AC (30A), electric dryer (30A), electric oven (40A), and a sump pump (10A). The sum of these breakers is 110A — already over 100A. But breakers do not tell the whole story. We perform a load calculation using NEC 220.82: we take the first 10kW of load at 100%, then add 40% of the remaining load, then add 100% of the largest motor (AC or well pump), then add the EV charger at 100% if it is over 1.5kW. For that 100A home with AC, dryer, oven, and a 40A EV charger, the calculated load often exceeds 120A — meaning your panel is overloaded before you even plug in the car. Running the EV charger while the AC is on will trip your main breaker. Our solution: upgrade the panel to 200A (6-10 hours, $2,000-4,000), install a load management device that throttles the EV charger when other loads run ($500-800, 2-3 hours), or downsize the EV charger to 20A (still charges overnight, no panel upgrade needed). We present all three options with costs before starting any work. For generator transfer switch installation, load calculation determines which circuits you can back up. A 5,000W portable generator can power a furnace, fridge, lights, and internet — but not a central AC or electric dryer. We help you choose which circuits go on the transfer switch. For hardwired vs plug-in, we explain: plug-in (NEMA 14-50) is easier to replace the charger later but the outlet can overheat during long 8-hour EV charging sessions. Hardwired is safer for continuous loads because there is no outlet to fail, but you need an electrician to swap chargers. We recommend hardwired for EV chargers in exposed locations (outside, garage) and plug-in for indoor, low-use chargers. For dedicated circuit requirements, code requires separate circuits for kitchen appliances (refrigerator, dishwasher, disposal, microwave), laundry (washer, dryer), bathroom outlets, and any 240V appliance. We never share circuits. For AC disconnect installation, the disconnect must be within sight of the condenser (typically 5-30 feet away) and at least 30 inches off the ground. We mount it on the exterior wall or on a post. We use fused disconnects (with cartridge fuses) for units without internal overload protection, and non-fused disconnects for most modern ACs. Every hookup we complete includes a final load test: we run the appliance at full power for 10 minutes while monitoring voltage drop and thermal imaging every connection. We provide the thermal images in your job folder.
Call our hookup specialists in Sebring before you buy a new appliance or EV charger. We will tell you what your panel can handle — and what it cannot.