

Cut Your Tarpon Springs Cooling Bills While Staying Comfortable Year-Round
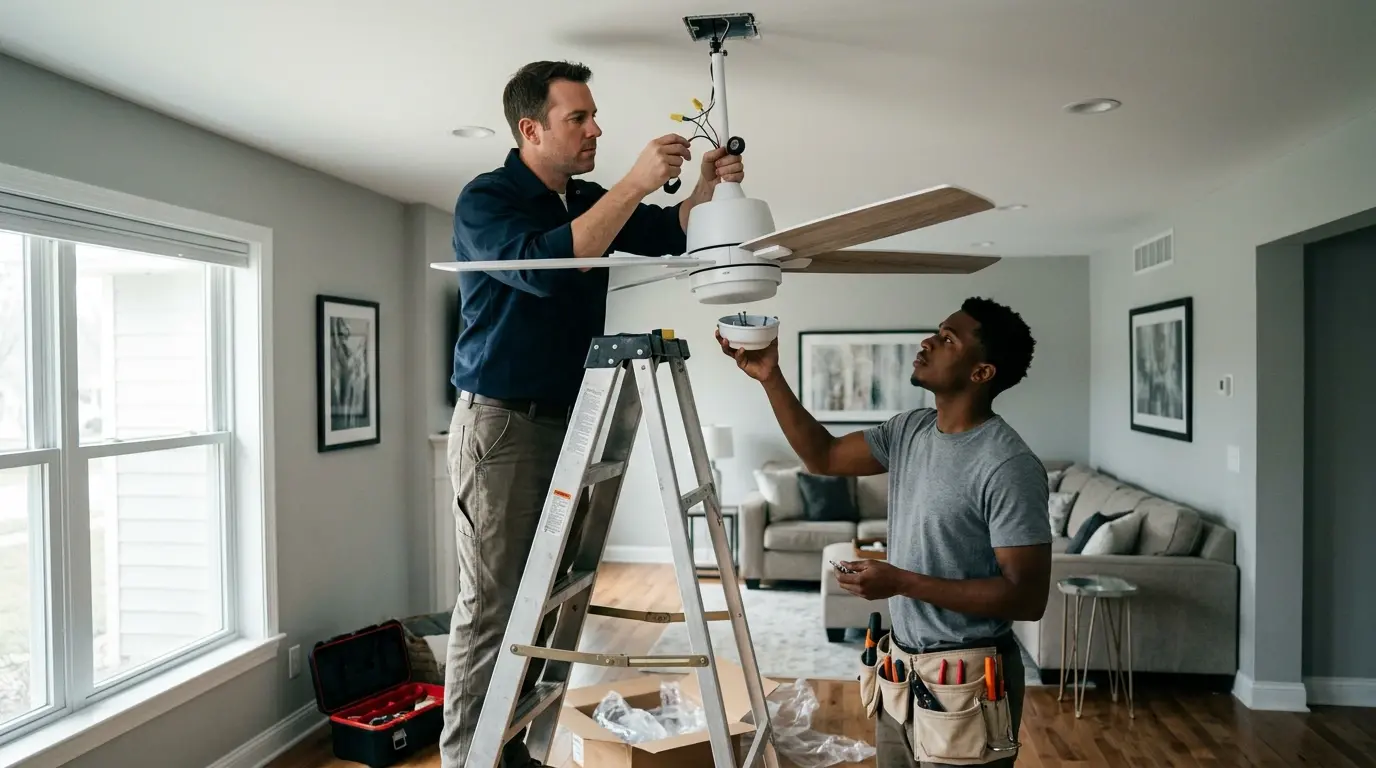
Running your air conditioner on a 75-degree evening is like using a sledgehammer to hang a picture. A ceiling fan costs pennies per day and makes the same room feel 4-5 degrees cooler. Our ceiling fan installation service helps Tarpon Springs homeowners switch from AC dependency to fan comfort. We handle ceiling fan replacement for noisy, ugly, or failing units, install ceiling fan with light combos in bedrooms and living rooms, and even run new circuits for install ceiling fan without existing wiring in homes built before overhead lights were standard. Every fan we install gets mounted on a fan brace box anchored to ceiling joists — because drywall screws cannot safely hold 20 pounds of spinning metal.
Five Fan Problems We Solve (Without Selling You a New Fan)
First, your fan runs but barely moves air — the blades are likely installed backwards. Ceiling fans should spin counterclockwise in summer (pushing air down) and clockwise in winter (pulling air up). We reverse the direction and check blade pitch. Second, your fan hums or buzzes — usually a failing capacitor or a dimmer switch not rated for fan motors. We replace the Hunter fan capacitor ($15 part) or swap the dimmer for a fan speed control. Third, your remote stopped working — often dead batteries or a receiver that lost pairing. We reset remote control ceiling fan systems and program new universals if needed. Fourth, your fan light flickers — likely an incompatible dimmer or loose neutral wire at the light kit. We tighten connections and install LED-compatible dimmers. Fifth, your fan sways on the ceiling — the mounting bracket has loosened or the box is not a fan brace box. We drop the fan, inspect the box, and install an angle mount if the ceiling slopes.
Every ceiling fan installation we complete in Tarpon Springs includes these energy-saving and convenience upgrades:
- Seasonal direction labeling — we put a sticker inside the switch plate reminding you to reverse direction in spring and fall
- Remote control ceiling fan programming — we set up a wall cradle so you never lose the remote
- Downrod length optimization — we calculate for your exact ceiling height (most fans come with a 6-inch downrod that is wrong for most homes)
- Blade balancing kit application — we weigh and adjust until vibration disappears at all speeds
- Pull chain shortening — long chains are a hazard and eyesore; we cut and re-terminate at 6 inches from canopy
- Dimmer compatibility verification — if you want a wall control, we install a fan speed controller, not a light dimmer
How Long Will Your Ceiling Fan Project Take?
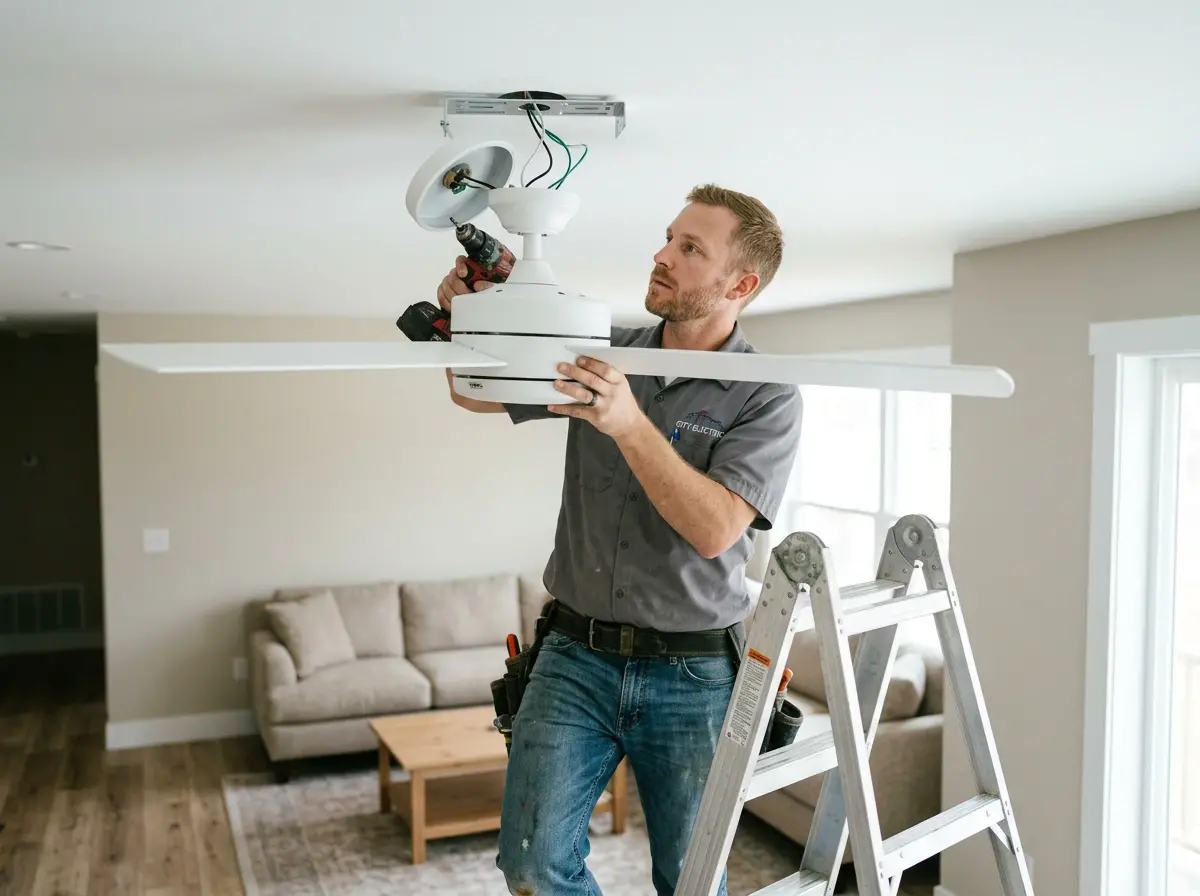
A straightforward ceiling fan replacement where an existing fan brace box is present and the new fan matches the old mounting pattern takes 1.5 to 2 hours. This includes ladder setup, old fan removal, new fan assembly on the ground (blades, light kit, pull chains), lifting the 20-30 pound assembly onto the ladder, wiring connections, and testing all three speeds. If we need to replace a plastic light box with a fan brace box, add 1 to 1.5 hours for drywall cutting, box swap, and patching. If you want install ceiling fan without existing wiring in a room with no overhead fixture, plan on 3 to 5 hours because we must run new Romex from the wall switch to the ceiling location — attic access helps, but finished ceilings require wire fishing. A remote control ceiling fan installation adds 30 to 45 minutes for pairing the remote to the receiver, setting up the wall cradle, and testing range from every corner of the room (including behind furniture). A Hunter fan capacitor replacement (common failure model where fan only works on one speed) takes 45 minutes: we remove the switch housing, identify the capacitor value (typically 3-5 microfarads), replace with an identical part, and test all speeds. If your fan runs but wobbles, a blade balancing kit typically adds 30 minutes to find the heavy blade and attach weights. The most time-consuming Tarpon Springs scenario is installing a ceiling fan on a 14-foot vaulted ceiling where no wiring exists. We need a 20-foot ladder, a helper to lift the fan, specialized angle mount hardware, and long downrod (24-36 inches). That project runs 5 to 7 hours. We also charge a trip fee for second-story ladder work (over 12 feet) — disclosed upfront, never as a surprise. We always provide a written estimate with line items: fan brace box (if needed), downrod length (if longer than included), remote control ceiling fan kit (if not included with fan), and hourly rate for attic or fishing work.
Why You Should Never Install a Ceiling Fan Yourself (Even If You Are Handy)
DIY ceiling fan installation fails in three ways. First, the box. A plastic light fixture box has two small screws into a bar that spans two joists — but that bar is often just nailed, not screwed. Over time, fan vibration loosens the nails. The box drops, the fan hangs by its wires, and the wires pull out of the wire nuts. Short circuit, spark, possibly fire. A fan brace box expands between joists with threaded rods that lock tight. No nails, no loosening. Second, the downrod length. Most fans include a 6-inch downrod. For an 8-foot ceiling, 6 inches puts blades at risk of hitting tall people. For a 12-foot vaulted ceiling, 6 inches leaves blades too high to feel airflow. We calculate the exact downrod length for your Tarpon Springs home: ceiling height minus 7.5 feet (safe clearance) minus fan body height (typically 12-15 inches from ceiling to blade). For vaulted ceilings, we add an angle mount so the fan hangs level even when the ceiling slopes. Third, the wiring. Fans need separate wires for the fan motor and light kit. Many DIY installers connect both to the same hot wire, so the fan and light always turn on together. Worse, they connect the fan to a light dimmer — dimmers are not rated for fan motors and will overheat. We run separate switch legs or install a remote control ceiling fan system that controls fan and light independently without new wiring. For install ceiling fan without existing wiring, we add a wireless remote kit that requires only power at the fan location — no switch leg needed. The remote receiver mounts inside the fan canopy, and the wall cradle can be surface-mounted anywhere. This is the cleanest solution for old Tarpon Springs homes with plaster ceilings where fishing wire would destroy the finish. Every ceiling fan installation we complete includes a final safety check: we hang 50 pounds of weight from the box (using a test hook), verify zero movement, then mount the fan. We also demonstrate reverse direction operation: clockwise for winter (pulls warm air down from ceiling), counterclockwise for summer (creates wind chill). We place a small sticker on your switch plate as a reminder. And we leave you with spare parts: balancing weights, extra pull chain extensions, and a spare capacitor if your fan model is known for failures.
Call our ceiling fan team in Tarpon Springs to schedule your installation or repair. Lower your AC bills, improve your comfort, and never duck under low-hanging blades again.