

Why Most Pompano Beach Ceiling Fans Are One Loose Screw Away from Falling
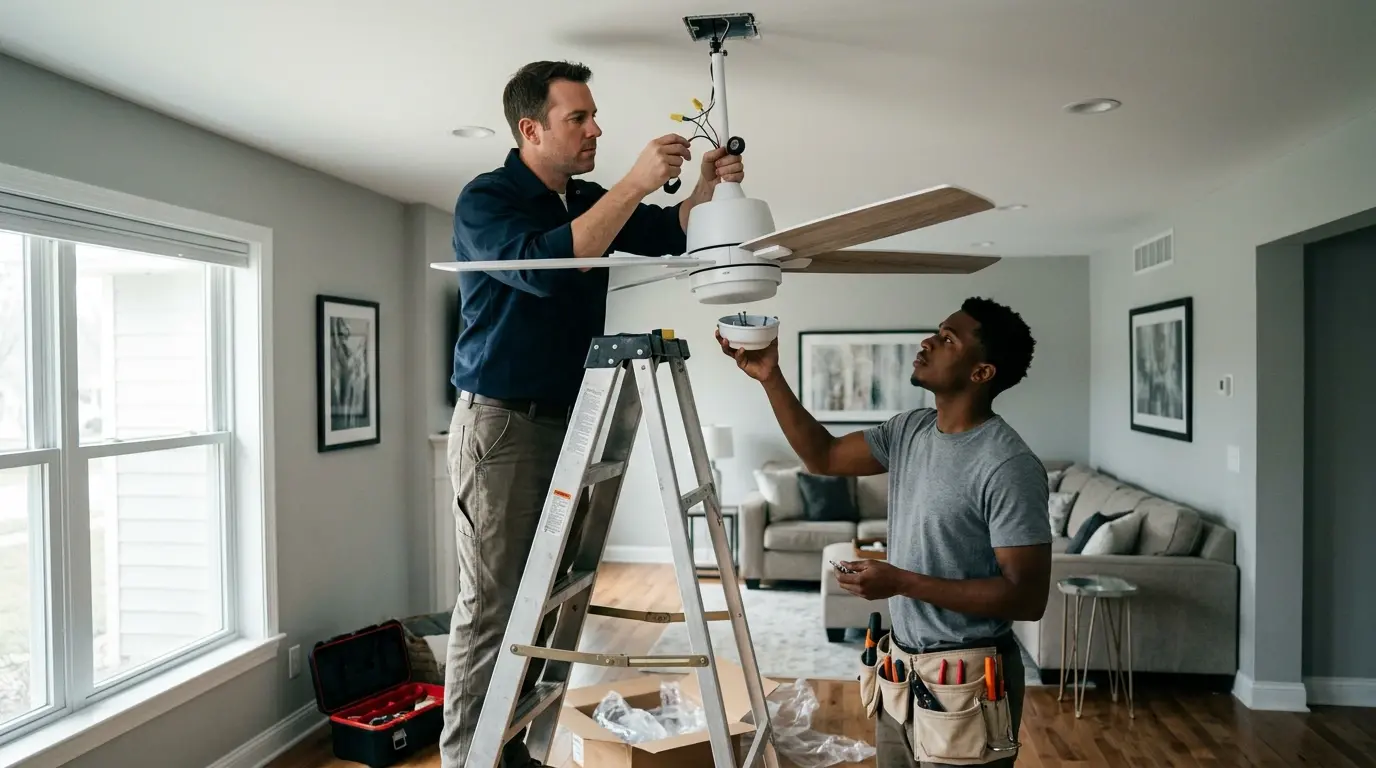
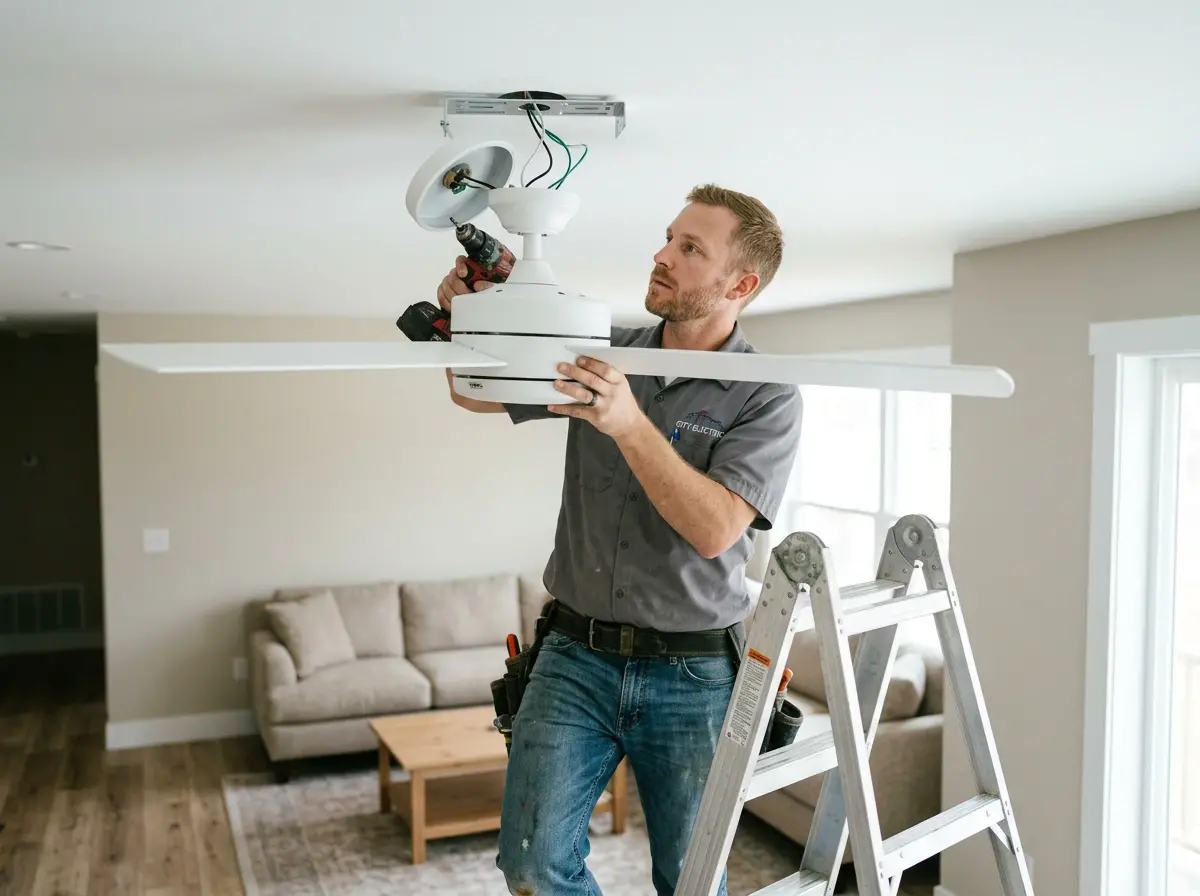
Walk into any home improvement store and you will see ceiling fans stacked to the ceiling. Walk into any Pompano Beach home built before 1990 and you will find fans hanging from plastic electrical boxes never designed for spinning weight. That plastic box has four small screws into drywall. Your 20-pound fan wobbles on those screws every time you change speeds. Our ceiling fan installation starts with one non-negotiable step: replacing that plastic box with a fan brace box that expands between joists and holds 70 pounds. We perform ceiling fan replacement, install ceiling fan with light combo units, and even run wiring for install ceiling fan without existing wiring in rooms that never had overhead fixtures.
Six Signs Your Existing Fan Is Dangerous
First, the fan wobbles visibly when running on high speed — indicating an unbalanced blade or loose mounting bracket. Second, you hear clicking or grinding from the motor housing — worn bearings or a failing capacitor. Third, the pull chain dangles but nothing happens — broken internal switch or disconnected wire. Fourth, the light works but the fan never turns on — failed capacitor or stuck speed switch. Fifth, the fan moves up and down when you pull the chain — the ceiling box is not secured to a joist. Sixth, you see cracks in the ceiling drywall around the mounting plate — the box is pulling loose. We fix every scenario. For wobbling, we use a blade balancing kit to weight each blade until the fan runs smooth. For clicking, we disassemble, replace bearings or lubricate the motor. For pull chain failures, we install remote control ceiling fan systems so you never touch a chain again. For the most dangerous sign — a loose box — we cut open the ceiling, install a fan brace box properly anchored to framing, and patch the drywall so no one knows we were there.
Every ceiling fan installation we complete in Pompano Beach follows this safety-first process:
- Box inspection — plastic box gets replaced with fan brace box (metal pancake boxes rated for fans are acceptable but rare in older homes)
- Downrod length calculation based on ceiling height (blades must be at least 7 feet above floor, ideally 8-9 feet)
- For vaulted ceilings, angle mount selection (standard mount tilts fan and looks wrong; angle mount keeps fan level)
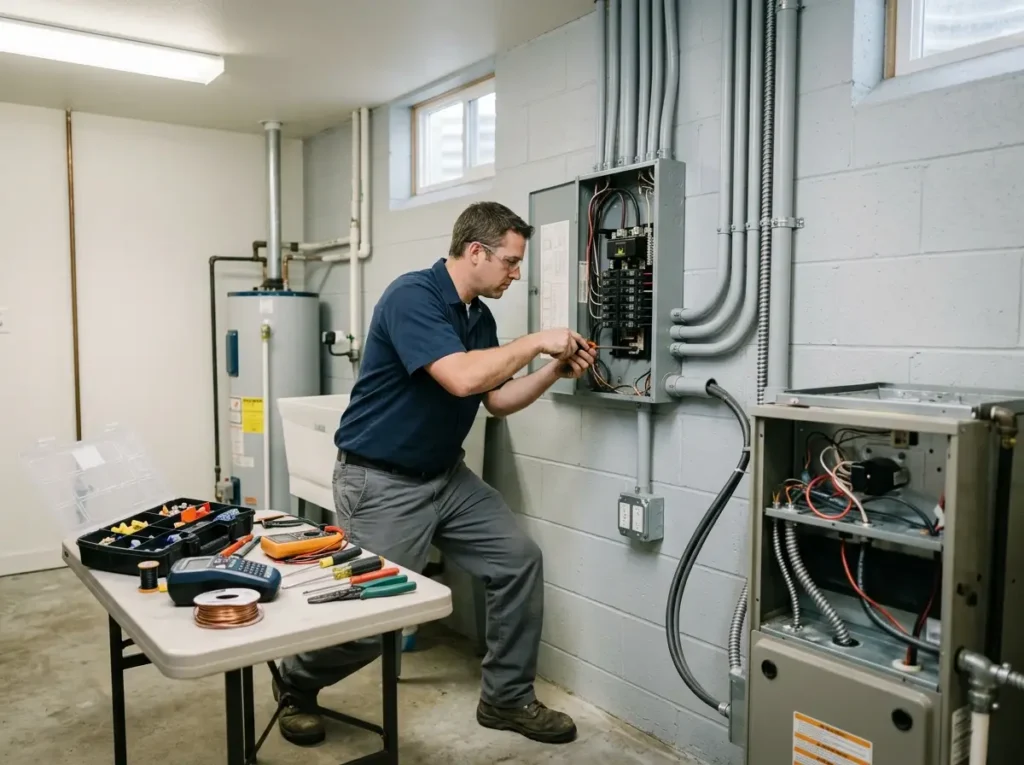
- Wiring verification — fans need separate wires for fan motor and light kit (many DIY installs combine them)
- Blade balancing — electronic vibration analyzer identifies heavy blade, we add balancing weights until vibration disappears
- Remote control ceiling fan programming — pairing transmitter to receiver, setting wall cradle, testing range
- Final pull chain adjustment — chains shortened so they don't dangle into blade path
How Long Does Ceiling Fan Installation Take?
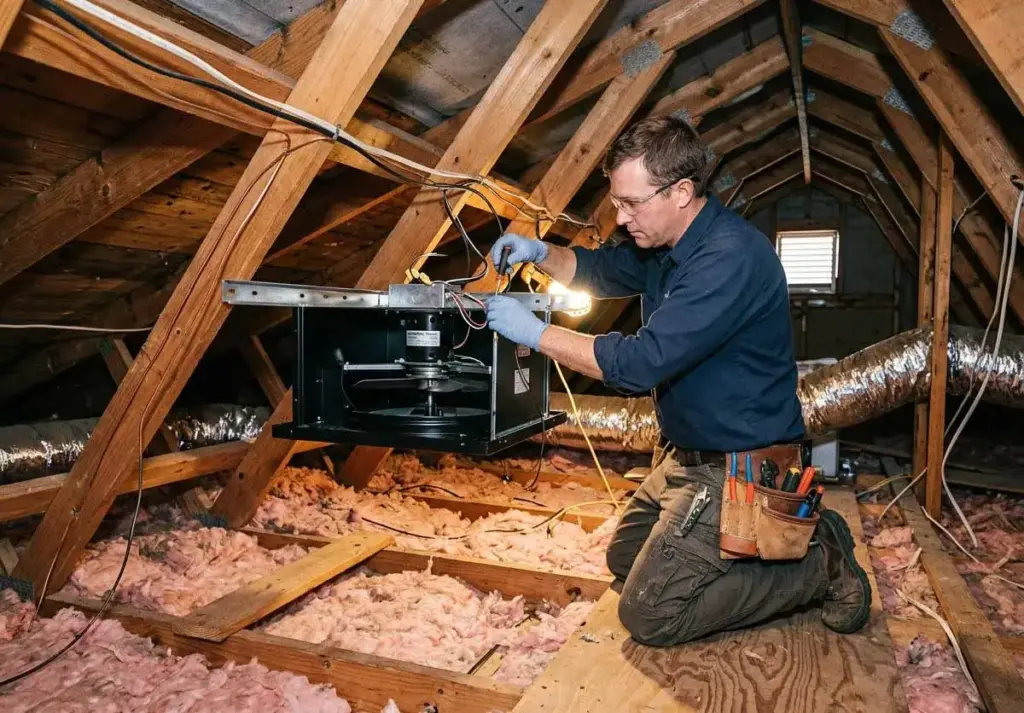
A simple ceiling fan replacement where an existing fan brace box is already installed and the new fan has the same mounting pattern takes 1.5 to 2 hours. This includes removing the old fan, inspecting the box (we check torque on every screw), assembling the new fan on the ground (blades, light kit, pull chains), lifting the 20-30 pound assembly onto a ladder, connecting wires, and testing all speeds. If the existing box is a plastic light fixture box, we add 1 to 1.5 hours to cut access, remove the old box, install a fan brace box, patch drywall, and texture-match. If the new fan is significantly heavier than the old one (e.g., replacing a 15-pound fan with a 35-pound fan with lights and remote), we may need to upgrade the fan brace box to a heavier-rated model (most brace boxes are rated 35-50 pounds; heavy fans need 70-pound boxes). Install ceiling fan without existing wiring is the most time-consuming service. We must run a new 14/2 or 14/3 Romex from the switch location to the fan location, which may involve attic access, cutting drywall, fishing wires, and patching. That project runs 3 to 5 hours depending on access difficulty. A remote control ceiling fan installation adds 30 minutes for pairing the remote to the receiver, programming any wall controls, and testing range from every corner of the room. For a Hunter fan capacitor replacement (common failure where fan runs on only one speed or not at all), we can repair the existing fan in 45 minutes — much cheaper than buying a new fan. The most complex scenario in Pompano Beach is installing a ceiling fan on a vaulted ceiling with no existing wiring, where the ceiling height exceeds 12 feet. We need a tall ladder (16-foot reach), a helper to lift the fan, and specialized angle mount hardware. That project runs 4 to 6 hours. We always provide a flat-rate price for standard installations and an hourly rate for attic work or drywall repair, with a cap so you never get a surprise bill.

Why Downrod Length and Angle Mount Matter for Your Comfort and Safety
A ceiling fan installed too low is a head injury waiting to happen. The NEC does not specify a minimum height, but the Consumer Product Safety Commission recommends blades stay at least 7 feet above the floor. We calculate downrod length as: ceiling height minus 7 feet minus fan height (from ceiling to blade). For an 8-foot ceiling with a 12-inch fan, a 6-inch downrod puts blades at 7 feet — too low for tall people. We recommend a flush mount (no downrod) for 8-foot ceilings. For 9-foot ceilings, a 6-inch downrod works. For 10-foot ceilings, a 12-inch downrod. For 12-foot vaulted ceilings, an 18-24 inch downrod with angle mount. The angle mount is critical: standard mounting brackets assume a flat ceiling. On a sloped or cathedral ceiling, a standard mount tilts the fan, making the blades track in an oval pattern instead of a flat circle. That oval pattern creates wobble, noise, and reduced airflow. Angle mounts have a ball-and-socket joint that pivots so the fan hangs plumb while the ceiling slopes. We use angle mounts rated for up to 45 degrees — steeper than most residential Pompano Beach vaults. For remote control ceiling fan systems, we verify that the receiver fits inside the fan canopy. Some fan canopies are too shallow for the receiver, requiring a deeper canopy or surface-mount receiver box. We carry both. For ceiling fan with light installation, we ensure the light kit uses dimmable LED bulbs and that any dimmer switch on the wall is LED-compatible (standard dimmers flicker with LEDs). For install ceiling fan without existing wiring, we add a wall switch that controls both fan and light separately — three-wire Romex from switch to fan (hot for fan, hot for light, neutral, ground). We also label the switch clearly because most buyers of your home will not know which switch does what. Every ceiling fan installation we complete in Pompano Beach includes a final balance test: we run the fan on high speed, place a glass of water on a table under the fan, and verify no ripples appear in the water. Ripples mean vibration remains. We balance until the water is still.
Call our team in Pompano Beach for ceiling fan installation done right. No wobbles. No plastic boxes. No callbacks.