


Your West Palm Beach Attic Is 140°F — Your AC Never Had a Chance
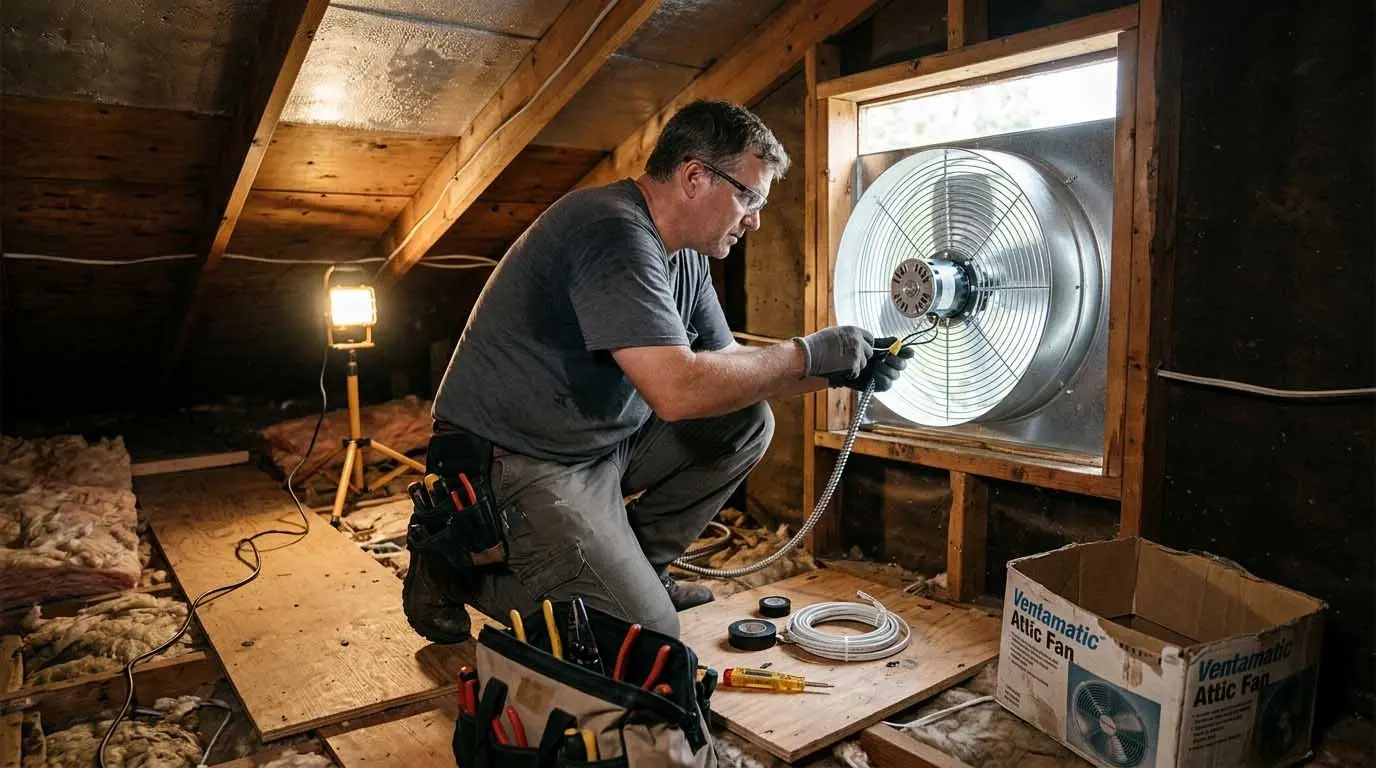
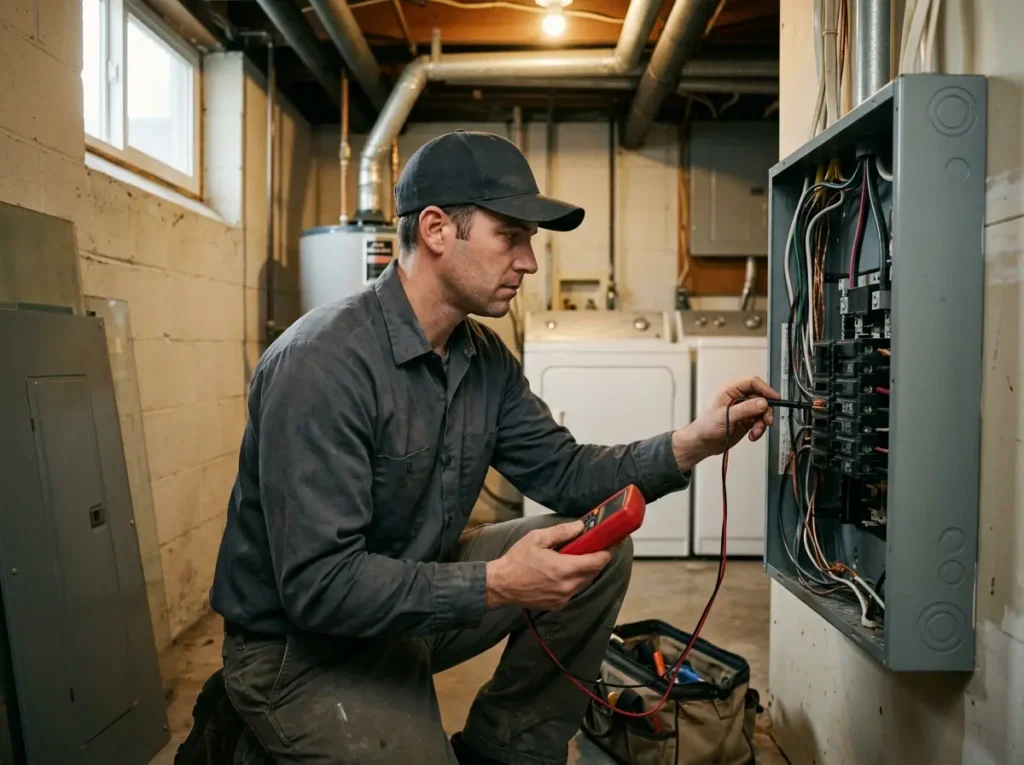
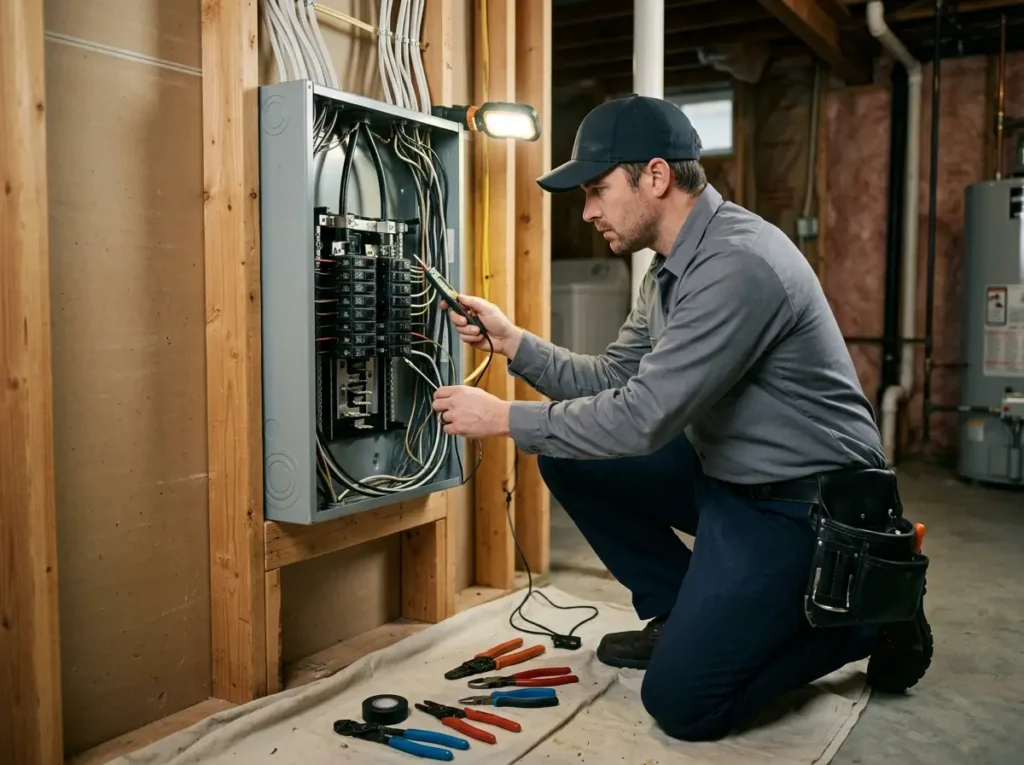
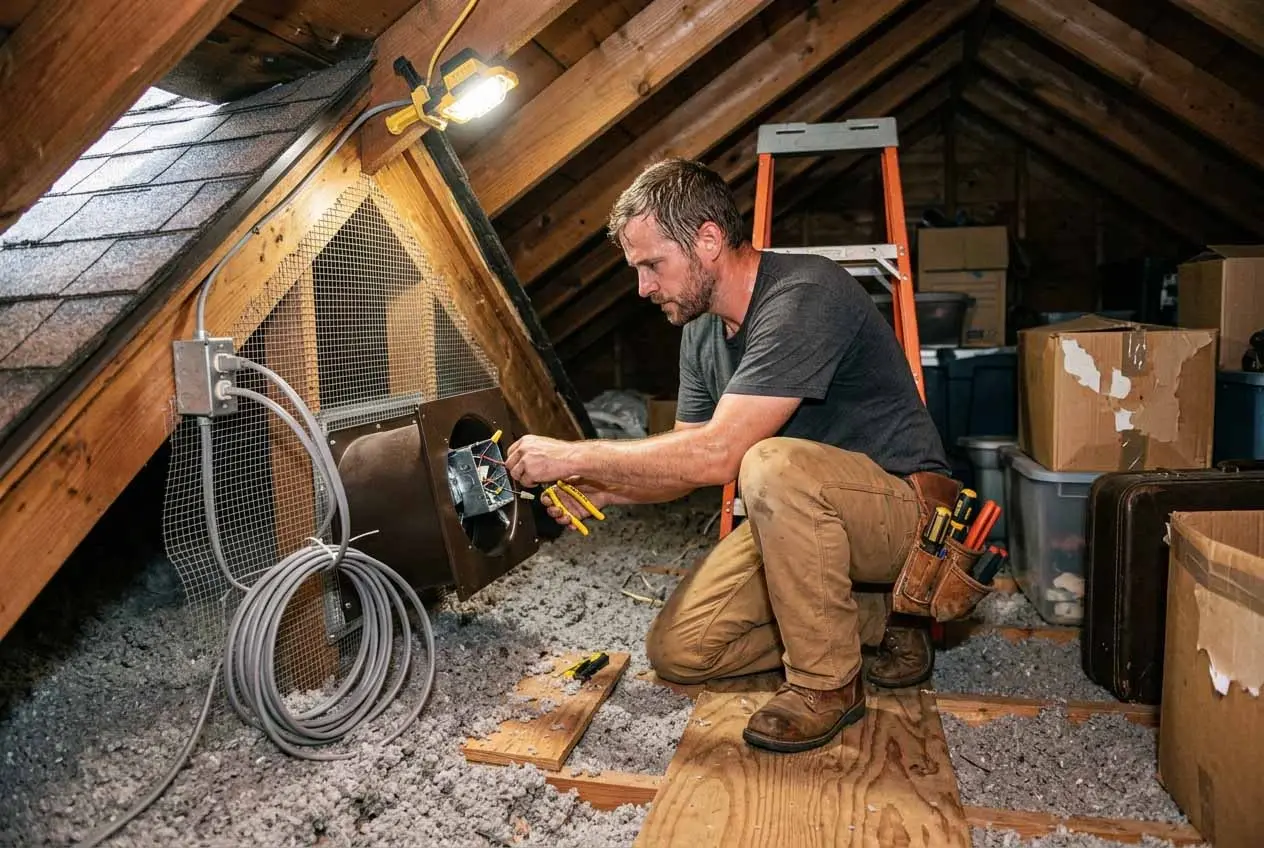
Walk into your attic on a July afternoon. If the heat forces you back down the pull-down stairs, your home has a problem. That 130-150°F air sits directly above your ceiling insulation, slowly heating your drywall, your ductwork, and every room below. Your air conditioner fights this heat all day while you pay for the battle. Attic fan installation solves this by pulling that superheated air outside before it ever seeps into your living space. Our team installs attic exhaust fan systems on gable vents, through roofs, and solar attic fan units that need no household electricity. But we never install a fan without first calculating CFM attic calculation and verifying soffit vent balance.
Five Attic Fan Mistakes We Correct
First, undersized fan — a 1,000 CFM fan in a 2,000 CFM attic does nothing. We calculate CFM attic calculation: attic length × width × height × 0.7 for standard pitch. A 1,500 square foot attic with 8-foot ceilings needs roughly 8,400 CFM. Second, no soffit vent balance — the fan pulls air from the house instead of from soffits. We measure existing soffit net free area and add vents if needed. Third, thermostat setting attic too low — fan runs on cool days, wasting energy. We set to 100-110°F with a 10°F differential. Fourth, no freeze stat — fan runs in winter, pulling warm air from your living space. We install freeze stat that locks out below 50°F. Fifth, no humidistat attic fan for moisture — bathroom fans venting into attic cause mold. We add humidistat control that overrides thermostat when humidity exceeds 60%.
Our attic fan installation process in West Palm Beach starts with measurement, not guesswork:
- Attic volume measurement (length × width × average height) and CFM attic calculation (volume ÷ 7.5 for complete air changes per minute)
- Soffit vent balance inspection — we count every soffit vent, measure its net free area, and compare to required intake (exhaust CFM divided by 300)
- Selection between gable fan (fastest installation, no roof penetration) vs roof mount fan (more effective for whole attic, but requires flashing)
- Thermostat setting attic configuration at 100-110°F with adjustable differential (10°F default)
- Freeze stat installation in line with thermostat (opens circuit below 50°F)
- Humidistat attic fan wiring in parallel with thermostat (either heat OR humidity triggers the fan)
- For solar attic fan, solar panel mounting on south-facing roof slope and low-voltage wiring to fan motor
How Long Does Attic Fan Installation Take?
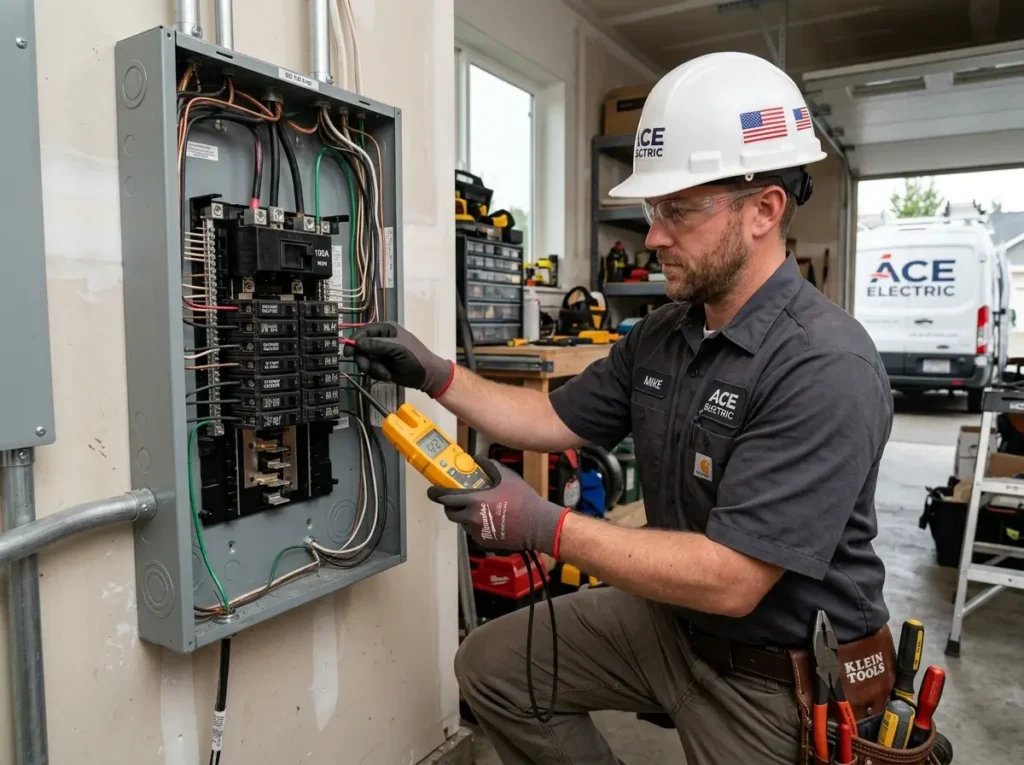
A gable fan replacement where an existing fan is already mounted and wiring is present takes 2 to 3 hours. We remove the old fan, modify the mounting frame if needed, install the new fan, connect the thermostat, and test. A new gable fan installation in a home with no existing fan takes 4 to 5 hours. We cut a hole through the gable wall, frame the opening, mount the fan, run electrical wire from the nearest attic light or outlet, install a thermostat and freeze stat, and seal the exterior louver. A roof mount fan installation takes 5 to 7 hours because we must work on the roof slope, cut a hole through sheathing and shingles, install a flashing flange, run wire down through the attic to the fan, and configure controls. A solar attic fan installation is the quickest at 2 to 3 hours — no wiring to the panel, just mount the solar panel on the south-facing slope, mount the fan on the gable or roof, connect low-voltage wire between them. However, solar attic fan effectiveness depends on West Palm Beach sun exposure. North-facing slopes get little sun, and heavy tree cover reduces performance. We test solar irradiance at your address before recommending a solar unit. The most labor-intensive scenario is a home with no existing soffit vent balance. We cannot install an attic exhaust fan without enough intake venting. In this case, we coordinate with a roofer to add soffit vents or install low-profile intake vents near the eaves before our attic fan installation. That project requires two visits and typically 1-2 days total. We always disclose this upfront during our free site assessment.

Why Soffit Vent Balance Determines Whether Your Fan Helps or Hurts
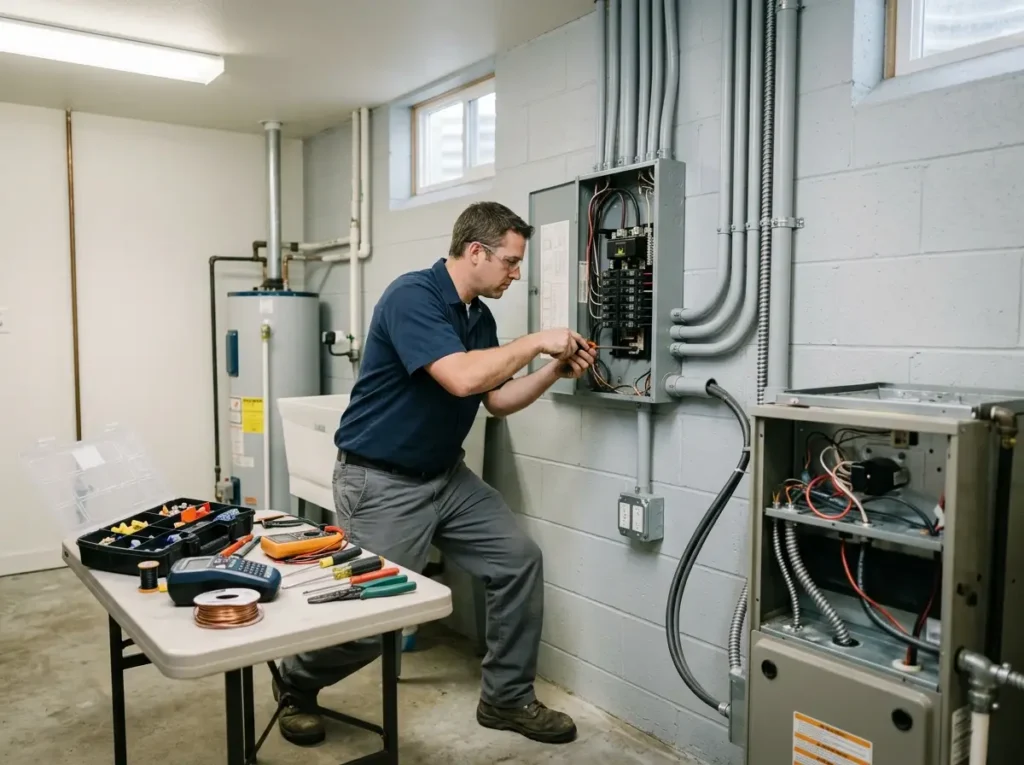
Here is the mistake that ruins most attic fan installations: installing a powerful attic exhaust fan without enough intake vents. Your soffit vent balance is the ratio of intake vent area (soffits, eave vents) to exhaust vent area (gable fan, roof mount fan). Proper balance requires at least 1 square foot of net free intake area for every 300 CFM of exhaust fan capacity. If your soffit vents are clogged with paint, blocked by insulation, or never installed, your attic exhaust fan will pull air from the only available source — your home. It will suck conditioned air through ceiling can lights, around attic hatches, and through unsealed wire penetrations. Your air conditioner will run longer, not shorter. Your electric bill will rise. We measure your existing soffit vent balance during our attic fan installation assessment using a simple calculation: count every soffit vent, measure its dimensions, calculate net free area (typically 50-70% of gross area for standard stamped vents). If intake is insufficient, we recommend adding soffit vents before proceeding. For homes with fixed roof lines where soffit vents cannot be added, we install a smaller attic exhaust fan or switch to a roof mount fan with integrated intake louvers. For thermostat setting attic, we use a line-voltage thermostat rated for motor load (most household thermostats are for 3A resistive loads; fan motors need 15A inductive-rated thermostats). We install the thermostat in an accessible location, often near the attic access door. For freeze stat, we wire it in series with the thermostat. When attic temperature drops below 50°F, the freeze stat opens, disabling the fan regardless of thermostat setting. This prevents your furnace heat from being pulled into the attic in winter. For humidistat attic fan, we install a separate humidity controller that overrides the thermostat. If attic humidity exceeds 60% (from bathroom fans improperly ducted into attic), the humidistat triggers the fan even if temperatures are low. This prevents mold on roof sheathing. For CFM attic calculation, we use the Home Ventilating Institute (HVI) formula: CFM = (Attic Volume in cubic feet) ÷ (Desired air changes per minute). For cooling, we target 15-20 air changes per hour (0.25-0.33 air changes per minute). So a 10,000 cubic foot attic needs 2,500-3,300 CFM. We size the fan to the low end of that range — oversizing without soffit vent balance causes the problems described above. Every attic fan installation we complete includes a final report: soffit vent balance measurements, CFM attic calculation, thermostat setting attic value, freeze stat cut-out temperature, and a diagram of fan location and airflow direction.
Call our attic team in West Palm Beach for a fan that cools your home, not a fan that fights your AC.